
If you encounter a low storage space message and find it difficult to free up memory, the best way to do so is to find a large file on your Windows 10. This will help know exactly which files are needless, and you can delete them, thereby recovering storage space.
But how to search for large files on a PC?
Well, there are different ways to find large files on Windows 10 . You can either use the built-in tools or can use a third-party app like Disk Analyzer pro. This app, in no time, will do the task for you. Moreover, it helps clean junk files, temporary files, and duplicates; another common reason for wasted storage space is slow and sluggish PC performance.
Either way, you will be able to free up space occupied by unnecessary large files.
Once you can find such files, duplicates, you can decide what to do with them. If deleting them isn’t what you want, you can move to an external drive or cloud storage; this will help free up space on the hard disk drive you are using.
How to Find Large Files Windows 10 Using the Simplest and Quickest Way
Method 1: Automatic Way to Detect Large Files Using Disk Analyzer Pro?
1. Download, install, and launch Disk Analyzer Pro.

2. You will now see a welcome screen from where you decide whether you want to run the Tutorial or straight away continue using the product.
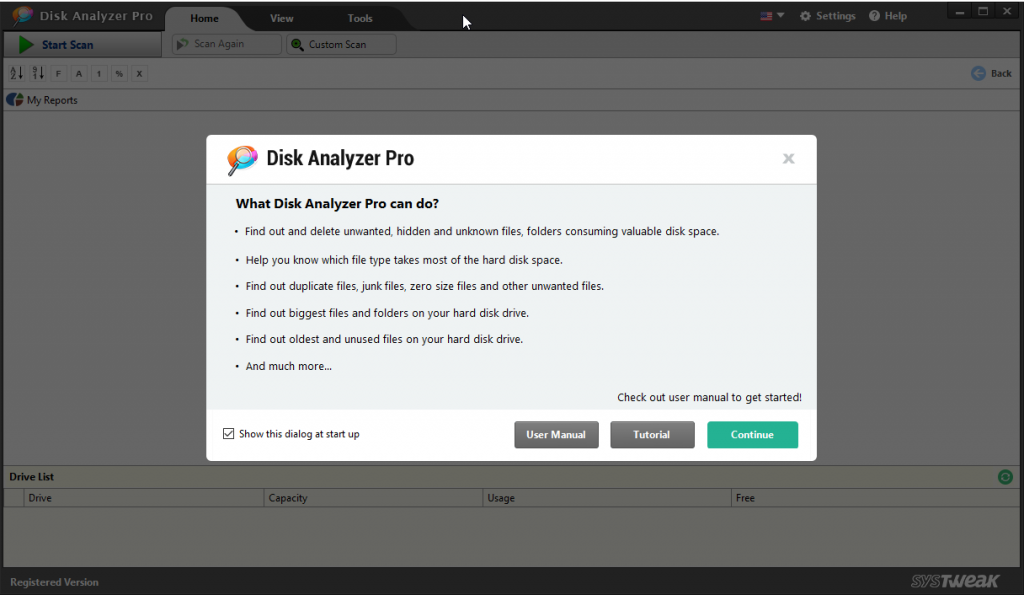
3. To proceed, click Continue
4. Select the drive to analyze or click Add Folder to scan a specific folder
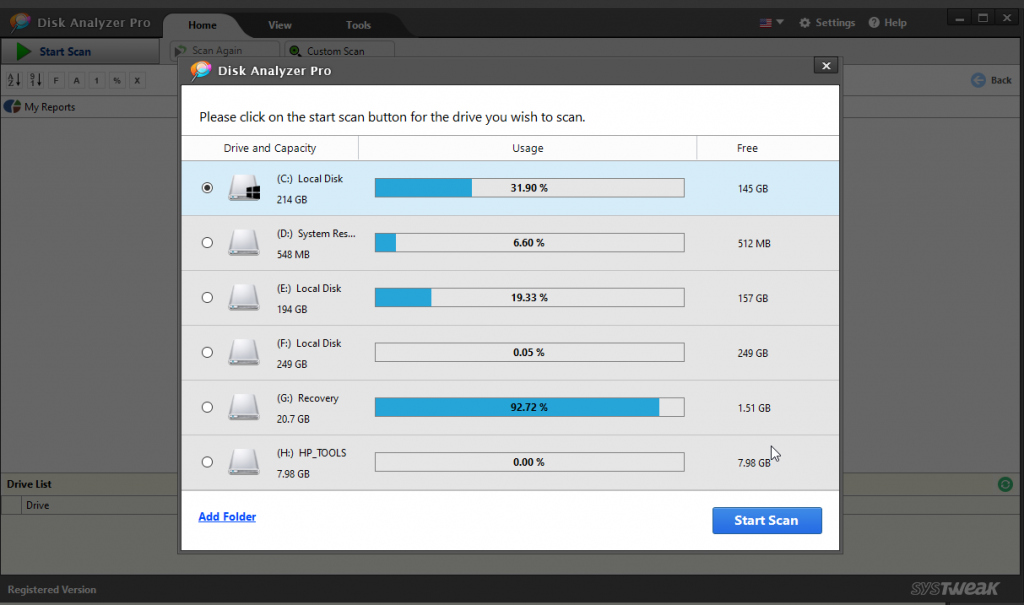
5. Wait for the scan to finish.

6. Once the scan is completed, you will see a list of items and an overview of all the files.

7. To sort scan results via the largest file, click View tab > File List > Big files.

8. You will now be able to see all the large files. Alongside the bottom bar, you will see the total number of files, size, and size on disk.

9. If you want, you can use the File Filters to get more accurate results or say customized results.
10. Once you have the results, decide to delete any file, select it and click Delete Selected File(s). However, if you want to preview the file before deleting it, you can select the Preview option from the context menu. Select the file to preview > right-click > Preview.

11. Nonetheless, if you want to get rid of Duplicates again, click the View tab > Files List > Duplicates.

Choose the parameter on how you would like to sort the duplicates and all set.
Using these simple steps, you can find large files in Windows 10 and get rid of them or move them to some other location in no time. This will help free up space on your system and will also make your slow system faster. However, if you want to do it all by yourself, we’ve got that covered.
Read further to know about the manual steps to How Find And Remove Large Files on Windows 10
Method 1: Finding Large File Via File Explorer
Using the in-built File Explorer, you can easily organize files and see hidden files too.
To use File Explorer, follow the steps below:
1. Press Windows + E to launch File Explorer.
2. Click the “View” tab and checkmark Hidden items from the “Show/hide” section.
This will help File Explorer bring more accurate results and search for large files even when hidden.

3. To start searching for files, click the search box in the top-right of the File Explorer. This will show you a new tab next to View. However, if it does not appear, you can search a term and then will be able to view it.
4. To search for large files, click the downward arrow next to Size and select the option as per your choice.
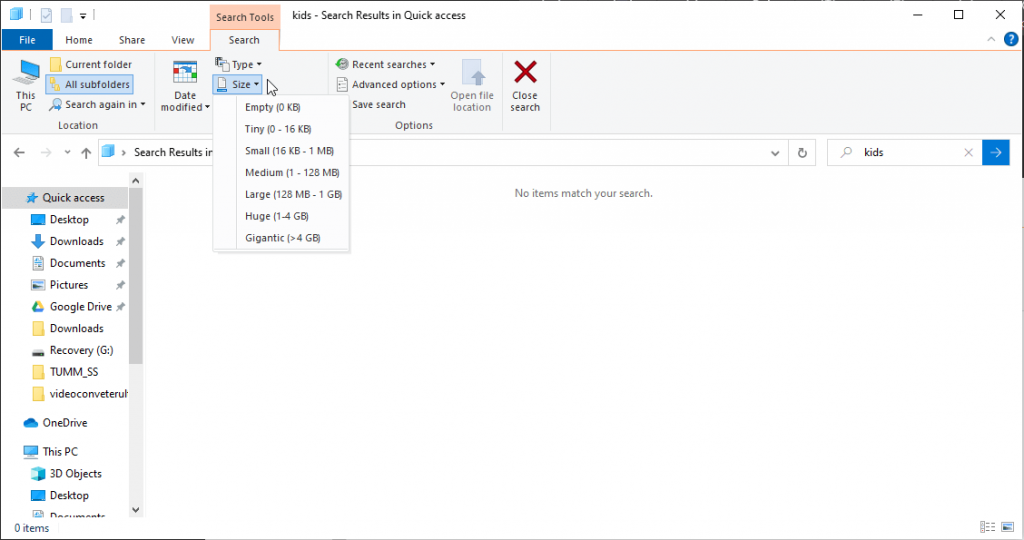
5. After this, type the search term in the search window and select the location; if you want to scan the complete PC, click This PC.
6. Wait for the scan to finish.

7. Once you have all the results, right-click on any space in the File Explorer and click Sort by. Next select Size and Descending. Doing so will put the largest file at the top of the list.

That’s it. You will now be able to find large files using File Explorer.
Method 2: Finding Large Files Using The Command Prompt
Command Prompt uses scripting language or a set of commands to perform any action you want. Using it, you can check every folder, subfolder on the system for large files. To use it, follow the steps below:
1. Open elevated Command Prompt. To do so, type Command Prompt in the Windows search > right-click > Run as administrator.
2. Now in the Command Prompt window enter the following command forfiles /S /M * /C “cmd /c if @fsize GEQ 1073741824 echo @path > largefiles.txt and Hit > Enter
3. The command will list all the files larger than 1GB and create a text document titled “largefiles.txt” with respective locations.

/S: It instructs forfiles to recurse into subdirectories.
/C: It indicates the command to execute for each file, and the command strings should be wrapped in double-quotes. If you want to execute internal CMD.exe commands, the commands should be preceded with cmd /c.
Using either of the steps mentioned above, you can scan the system for the largest files and eliminate them to make space on the hard disk. This will not only help clean up the system but will optimize the performance. We hope you like the article and find it useful. Please let us know which method you picked and why and the comments section. We’d love to hear from you.

 Subscribe Now & Never Miss The Latest Tech Updates!
Dheeraj Manghnani
I deleted some of the largest files and save a lot of space on my computer