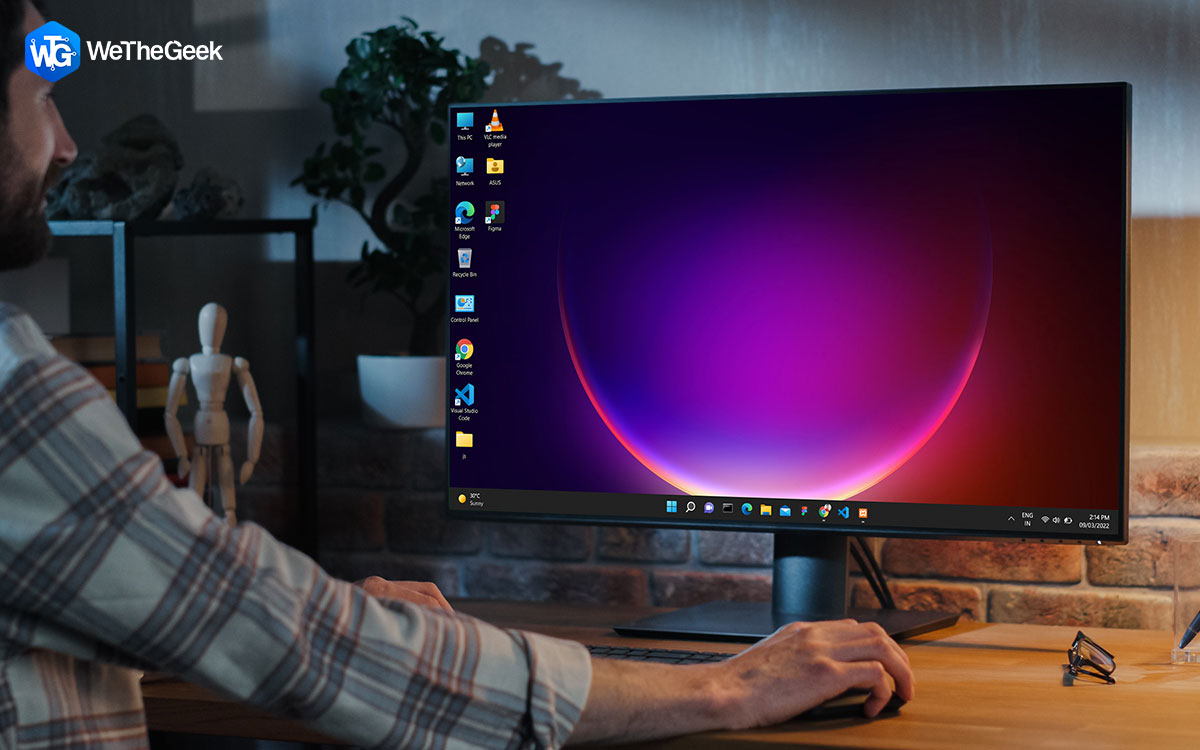
Does Windows 11 background keep changing automatically? Are you seeing new wallpaper backgrounds on the screen each time your reboot your device? Well, yes, it’s weirdly scary and annoying as well. If you’ve recently upgraded to Windows 11 or updated to a new version, encountering a few glitches is quite natural. So, if this keeps happening constantly, this issue certainly needs your attention for an immediate resolution.

Some of the most common reasons that may trigger this issue include an invalid registry, misconfigured system settings, corrupt system files, account sync issues, and so on.
In this post, we have listed a few solutions that you can use to fix the “Wallpaper keeps changing” issue on Windows 11.
Let’s get started.
Also read: How To Change A Desktop Background On A Windows Computer
Wallpaper Keeps Changing Automatically? Try These Fixes!
Before you begin, try a simple reboot and check if it helps in resolving the glitch. In case you are constantly facing similar issues, try the below-listed solutions.
Solution 1: Turn OFF the Slideshow
So, by default, if the slideshow feature is enabled in the Windows Personalization settings section, you may see a constant change in desktop backgrounds. Here’s how you can turn off the slideshow setting on Windows 11:
Step 1: Tap on the Windows icon placed on the Taskbar, and select “Settings”.
Step 2: Switch to the “Personalization” section from the left menu pane.

Step 3: Select “Background”. Now, tap on the drop-down menu placed next to the “Personalize your Background” option.
Step 4: Select “Picture” or “Solid Color” instead of “Slideshow”.
Solution 2: Disable Windows Sync Settings
Step 1: Launch the Settings app. Switch to the “Accounts” section from the left menu pane.
Step 2: Scroll down and select “Windows Backup”.

Step 3: Now, toggle OFF the “Remember My Apps” option to disable Windows sync settings.
Also read: How To Use Efficiency Mode In Windows 11 To Reduce Resource Utilization
Solution 3: Switch to a Local Account
Windows can sync settings across devices, right? So, once you disconnect your Microsoft account from your device then there’s a fair chance of fixing the “Background keeps changing automatically” issue. Here’s what you need to do:
Step 1: Launch the Settings app, and switch to the “Accounts” section from the left menu pane. Tap on “Your Info”.

Step 2: Under the Account Settings section, select the “Sign in with a Local Account Instead” option.
Step 3: Follow the on-screen instructions to quickly set up a new local account on your device. Set a wallpaper and check if the issue was resolved.
Solution 4: Disable the Windows Background Settings
Did you know you could restrict access to changing background settings on your device? Yes, that’s right! You can do so by making a few quick changes in the Windows Registry Editor. Follow these quick steps:
Step 1: Press the Windows + R key combination to open the Run dialog box. Type “Regedit” and hit Enter.

Step 2: In the Registry Editor window, navigate to the following folder location:
HKEY_CURRENT_USER > Software > Microsoft > Windows > CurrentVersion > Policies.
Step 3: Now, right-click on the “Policies” folder and select New> Key.
Step 4: Name the new key “ActiveDesktop” and hit the Enter key. Tap on the “Active Desktop” key.
Step 5: Right-click anywhere on the right side of the window and select New> D-Word (32-bit) Value.

Step 6: Name the new D-WORD file as “NoChangingWallpaper” and then enter “1” in the Value Data field.
Step 7: Exit all windows and reboot your device. Check if the issue was resolved after tweaking the Registry.
To re-enable the background change settings:
Step 1: Open the Registry Editor app again and navigate to the same location. Tap on the “NoChangingWallpaper” D-Word file and set the Value Data field to “0”.
Solution 5: Uninstall the Last Windows Update
Step 1: Open the Settings app on your Windows 11 device. Switch to the “Windows Update” section from the left menu pane.

Step 2: Tap on the “Update History” button. Now, scroll to the extreme end of the page and select “Uninstall Updates”.

Step 3: You will now see a list of recent updates. Tap on the “Uninstall” option placed next to the most recently installed Windows update.
Step 4: Windows will now get to work to uninstall the most recent Windows update and revert your device to a previous Windows 11 version.
After reverting to a previous update, reboot your device and check if the issue was resolved.
Conclusion
These were a few simple troubleshooting hacks that you can use to fix the “Background keeps changing automatically” issue on Windows 11. If your desktop background is changing by itself every now and then, you can use any of the above-listed solutions to resolve this glitch.
Do let us know which method worked out best for you. Feel free to share your thoughts in the comments section. You can also find us on Facebook, Twitter, YouTube, Instagram, Flipboard, and Pinterest.


 Subscribe Now & Never Miss The Latest Tech Updates!