Unable to open the print management tool on Windows 11? Is it missing or inaccessible on your device? Don’t worry. The Windows OS offers you a variety of methods to open this tool on your device. This post has listed several workarounds to access the print management tool on your Windows PC.
On Windows, the print management tool is a handy utility that allows you to manage printers and print queues on a computer or network. It is your one-stop space for managing and configuring printers, as well as for troubleshooting printing issues. One of the quickest ways to open the print management tool on Windows is listed below:

Press the Windows + R key combination to open the Run dialog box. Type “Printmanagement.msc” and hit Enter. And that’s it! The Print Management window will now appear on the screen:
However, if Windows is unable to find this tool on your device, Windows will throw you the following alert:

So, how can you fix this issue? Here are a few solutions that you can try!
Let’s get started!
Also read: How Can You Access The Windows Print Management Tool
Print Management Tool Missing on Windows 11? Try These Solutions!
Solution 1: Add An Optional Feature
Step 1: Tap on the search icon placed on the Taskbar, type “Add an optional feature” and hit Enter.

Step 2: Hit the “Add a feature” button placed on the top. Type “Print Management Console” and then add this feature to your device.

Step 3: And this is how you can add the print management tool back to your system.
Also read: How To Quickly Save ‘Print Screen Screenshots’ As Images
Solution 2: Update the Printer Driver
Outdated printer drivers can also be a common reason behind printer-related issues. Here’s how you can update the printer drivers on your device.
Step 1: Press the Windows + R key combination to open the Run dialog box. Type “Devmgmt.msc” to open the Device Manager app.
Step 2: In the Device Manager window, select “Printers” and then right-click on the printer. Select the “Update Driver” option from the context menu.

Step 3: Follow the on-screen instructions to update the printer drivers installed on your device.
Solution 3: Clean the Printer Spooler
Step 1: Press the Windows + R key combination to open the Run dialog box. Type “Services.msc” and hit Enter.

Step 2: In the Services window, look for the “Print Spooler” service. Double-tap on it and open Properties.

Step 3: Hit the “Stop” button to terminate the service. Tap on OK to save changes.
Step 4: Now, press the Windows + R keys and type “%WINDIR%\system32\spool\printers”.

The Printer Spooler Services properties window will now appear on the screen. Hit on the “Start” button to restart the service. Set the “Startup Type” value as “Automatic”. Tap on the OK and Apply buttons to save changes.
Solution 4: Run an SFC Scan
SFC (System File Checker) scan is a utility that can scan for and replace corrupt or missing system files. The SFC utility is built into Windows and can be run from the command prompt.
Step 1: Tap on the search icon placed on the Taskbar, type “Command Prompt” and then select “Run as administrator” to launch the app in admin mode.

Step 2: In the Terminal window, type the following command and hit Enter to execute it:
sfc/scannow
Step 3: The SFC scan will begin and may take some time to complete. It will scan all protected system files and replace any that it finds to be corrupt or missing.
Solution 5: Use the File Explorer App
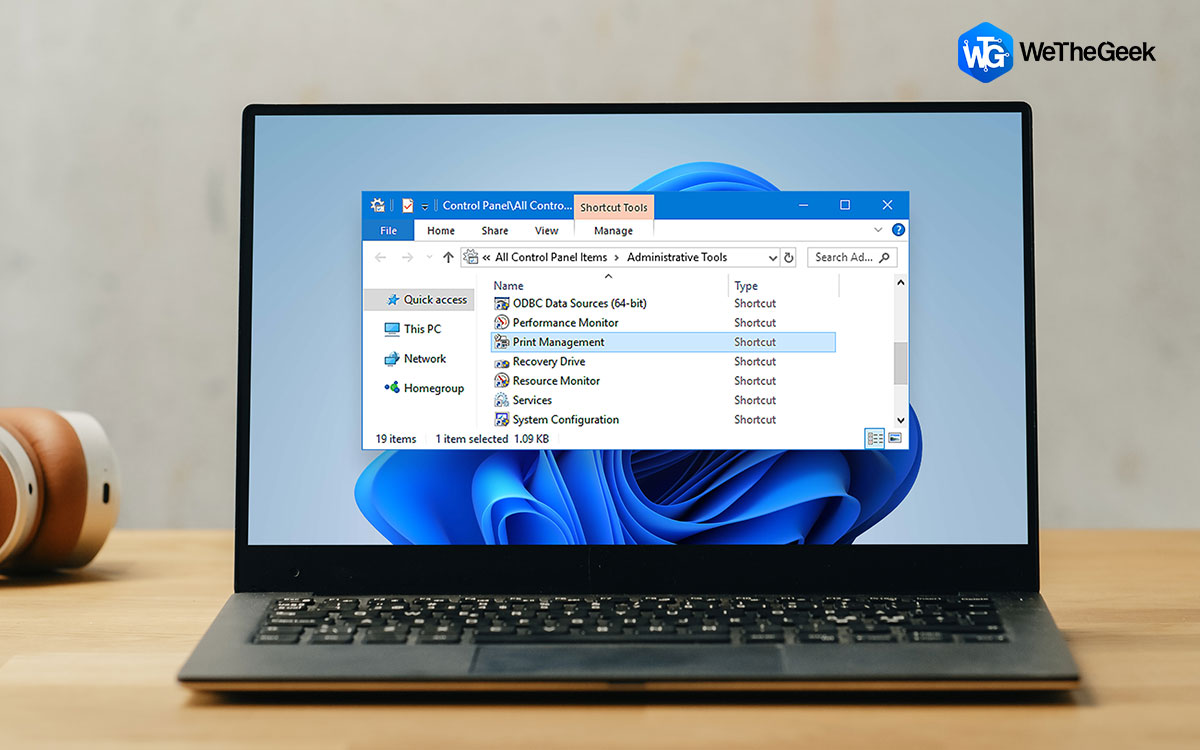
Step 1: Open the File Explorer app on your Windows 11 PC and type the following path in the address bar:
C:\ProgramData\Microsoft\Windows\Start Menu\Programs\Administrative Tools

Step 2: You can double-tap on the “Print Management” tool to access it.
Solution 6: Add the Tool Manually
If the Print Management tool has been removed or disabled by the administrator of the system, or it may not have been installed on the system at all, here’s something you can try:
Step 1: Press the Windows + R key combination to open the Run dialog box. Type “Optionalfeatures.exe” in the textbox and hit Enter.

Step 2: The Windows Features window will now appear on the screen. Scroll down and look for “Print and Document Services”.

Step 3: Check on it and then tap on the “Print Management Tool” to enable this feature.
Also read: How To Fix Unable to Print from Microsoft Excel In Windows 11
Conclusion
Here are a few simple methods to access the Print Management Tool on Windows. However, if you are unable to open or access the print management tool on your device, you may contact the administrator or the system manufacturer for further assistance in enabling or installing the Print Management tool. You can also find us on Facebook, Twitter, YouTube, Instagram, Flipboard, and Pinterest.

 Subscribe Now & Never Miss The Latest Tech Updates!