
Downloading all your photos from iCloud to your Mac, PC or Smartphone can be cumbersome. You need to set up iCloud on your computer. If you have Windows, you need to download iCloud on a PC to start with. But that’s not the case with Apple devices, with iOS devices iCloud comes as a native application already.
Most people love to capture their beautiful moments with their iPhones but organizing and managing them from your iCloud Drive and computer can be a hectic task. However, if you have iCloud on your laptop or Desktop, then this task could be easily accomplished.
How To Get Your Photos From iCloud To Your Computer & Smartphone?
In this post, we will guide you through the step-by-step way to download your photos from iCloud to your Mac, iPhone, iPad, or even to your Windows PC.
Download Photos To Your Windows From iCloud
Follow these easy steps to get all your Photos on your Windows:
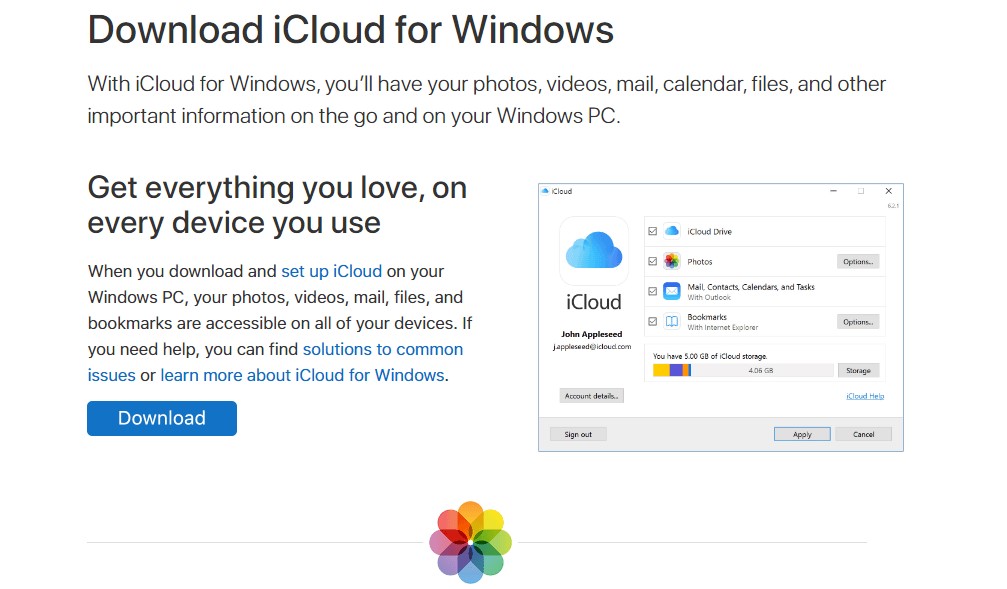
STEP 1- In case you have not installed iCloud for Windows your system then, download iCloud on Windows from here.
STEP 2- Install the app by following the on-screen instructions, once downloaded properly.

STEP 3- Grant the necessary permissions to get started and Restart your system.
The next page would ask you to sign in with your Apple ID and Password to sign in.
Note: If you have two factor authentication enabled, you need to enter the code received on your Apple device.
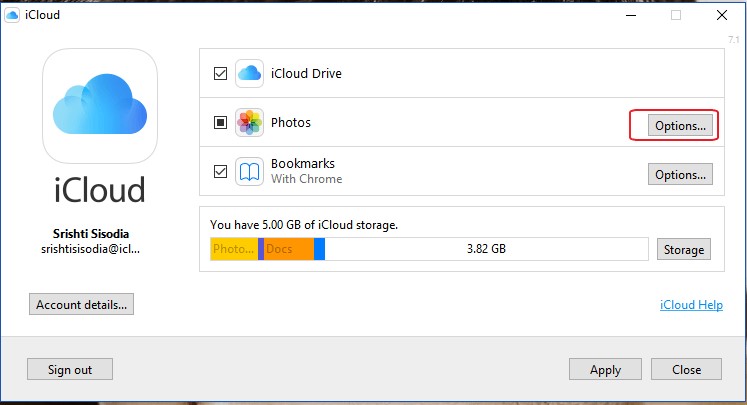
STEP 4- Once signed in, you will be presented with the iCloud dashboard with all the essential options like iCloud Drive, Photos, Bookmarks along with the storage distribution bar. Since, we need to download photos from iCloud to PC, checkmark the box beside Photos and click on the Options button next to it.
STEP 5- A dialog box will appear on your screen. Checkmark the options like Download new photos and videos to my PC and Upload new photos & videos from my PC.

STEP 6- Once selected, click on the Done button to save the changes. Further, you need to click the Apply button from the main interface.
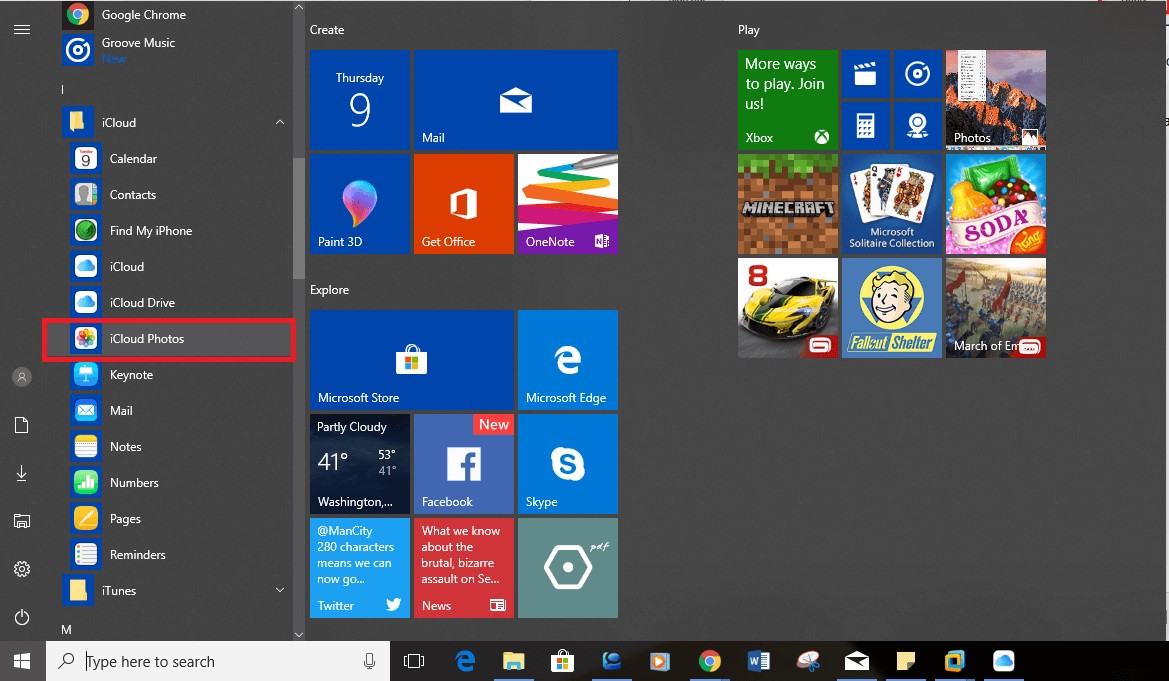
STEP 7- Changes would be applied instantly. Now click on the Start Menu on your computer, locate iCloud-> iCloud Photos folder.
STEP 8- Click on the same and from the iCloud photos folder, you will be displayed with folders like Downloads, Uploads & Shared.
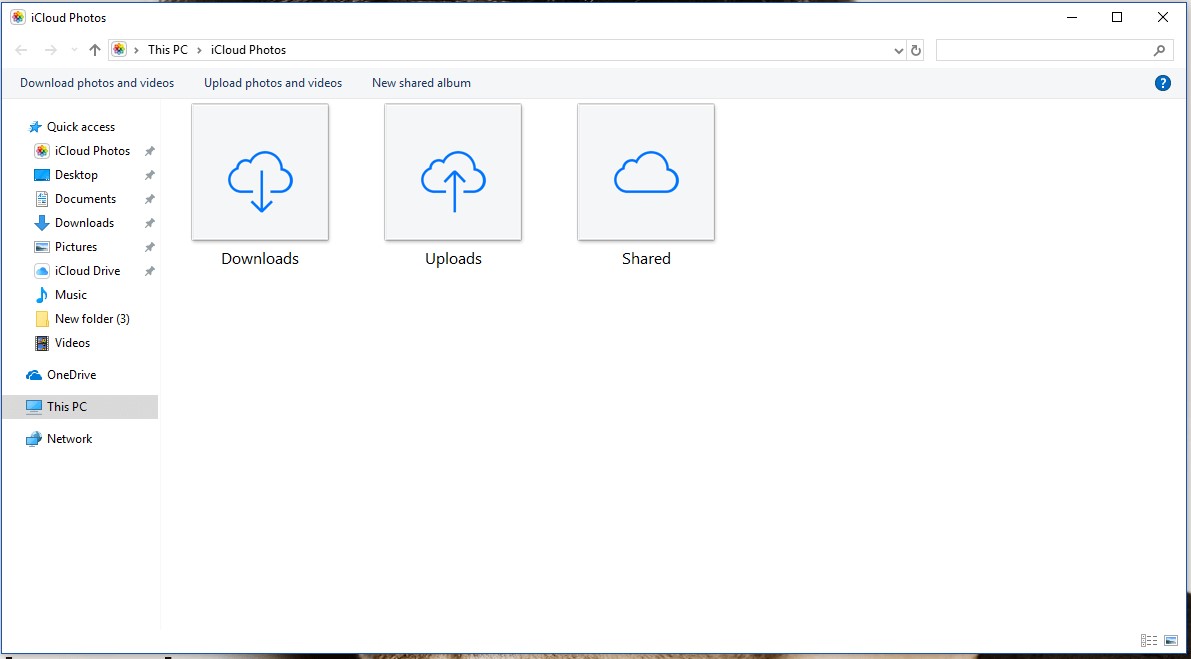
STEP 9- Click on the folder from where you want to get the photos to your device.
Note: If you are using this app for the first time, it might ask you to try to access the downloads folder after sometime.
STEP 10- You can also click on Download photos and videos to initiate the process.

STEP 11- A dialog box will appear on your screen, asking for a checkmark on the years or months from which you want to download the photos. You can also click on the All option and hit the Download button to start the downloading process on your Windows desktop.

In this way, you can download photos from iCloud Drive on Windows PC.
Download Photos To Your Mac From iCloud
To Download Photos On Your Mac, follow these steps:
STEP 1- Go To Finder->Go->Applications.

STEP 2- Under Applications, locate Photos & click on the same.

STEP 3- Now as soon as the Photos section opens, click the Photos again, followed by Preferences.

From the Preferences tab, click on the iCloud tab.
STEP 4- From the Preferences tab, click on the iCloud tab.

Note: If you have not signed in to your iCloud account. It will prompt you to sign in.
STEP 5- Under the iCloud tab, put a checkmark next to Download Originals to this Mac. Close the preferences tab once the update is completed. Select Photos & Press ‘Command + A’ shortcut together to select all the photos.
If you don’t want to add all the photos, you can select the photos individually as well.
STEP 6- Once your pictures are selected, click on the File option and select Export.

Image Credit: Toms Guide
STEP 7- As soon as you click the Export button, you will get two options, Export (number of photos) items or Export Unmodified Original
If you opt for the first option, you will get another screen to select the format and quality of the images, after doing that, click the Export button again. Navigate to the desired folder where you would like to save your images and click the Export Originals button!
 Image Credit: Toms Guide
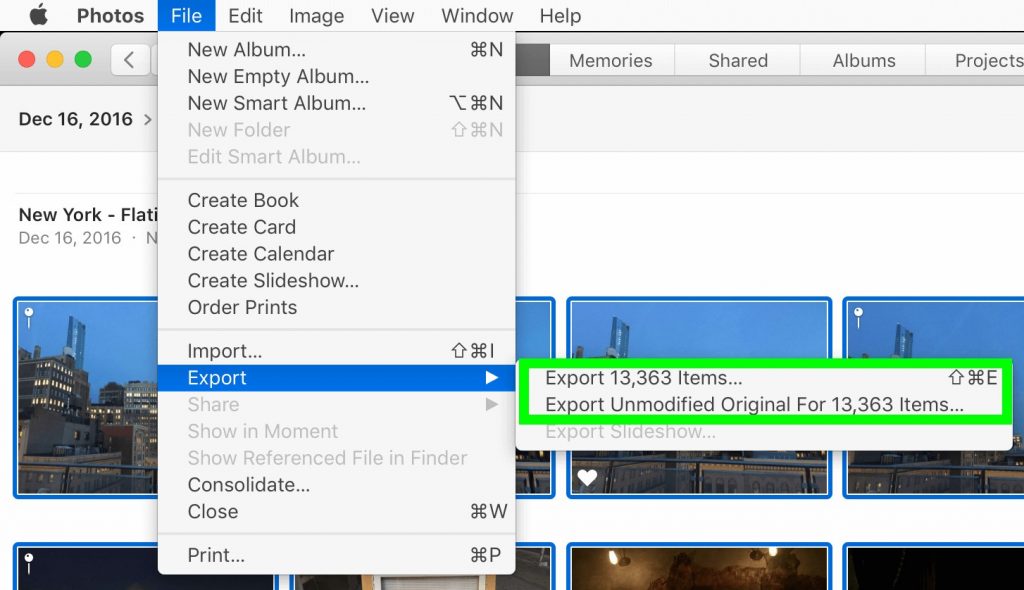
Image Credit: Toms Guide
Image Credit: Toms Guide
Must Read: How To Free Up Disk Space On Mac
It is done! In this way, you can import your photos from your iCloud to your Windows or Mac computer. Keep reading to learn how you can download photos from iCloud to iPhone or iPad!
Download Photos To Your iPhone/iPad From iCloud
iPhone/iPad users can simply download pictures from iCloud by following the instructions below:
STEP 1- Visit your iPhone Settings.
STEP 2- Navigate to the Photos & Camera section.
STEP 3- Simply enable the ‘iCloud Photos Library’ feature. You need to select the ‘Download and Keep Originals’ option.
STEP 4- This would sync your iCloud Photo Library with your phone. Your iCloud Photos will now be downloaded on your iOS device.
| Note: The entire process is hassle-free, the only catch here is that when you opt for this selection, the restoration deletes the existing contents on your device & restores the pictures from the backup file. This method is often not advisable, since it replaces certain settings to default also! |
We hope after reading this informative guide, you will be able to know how to get photos from iCloud to Mac, Windows, iPhone & iPad. If you are looking forward to managing your iPhone data easily, you can also try using third-party applications like Right Backup to export all your data to a secure cloud and share them instantly!
RELEVANT READINGS:

 Subscribe Now & Never Miss The Latest Tech Updates!