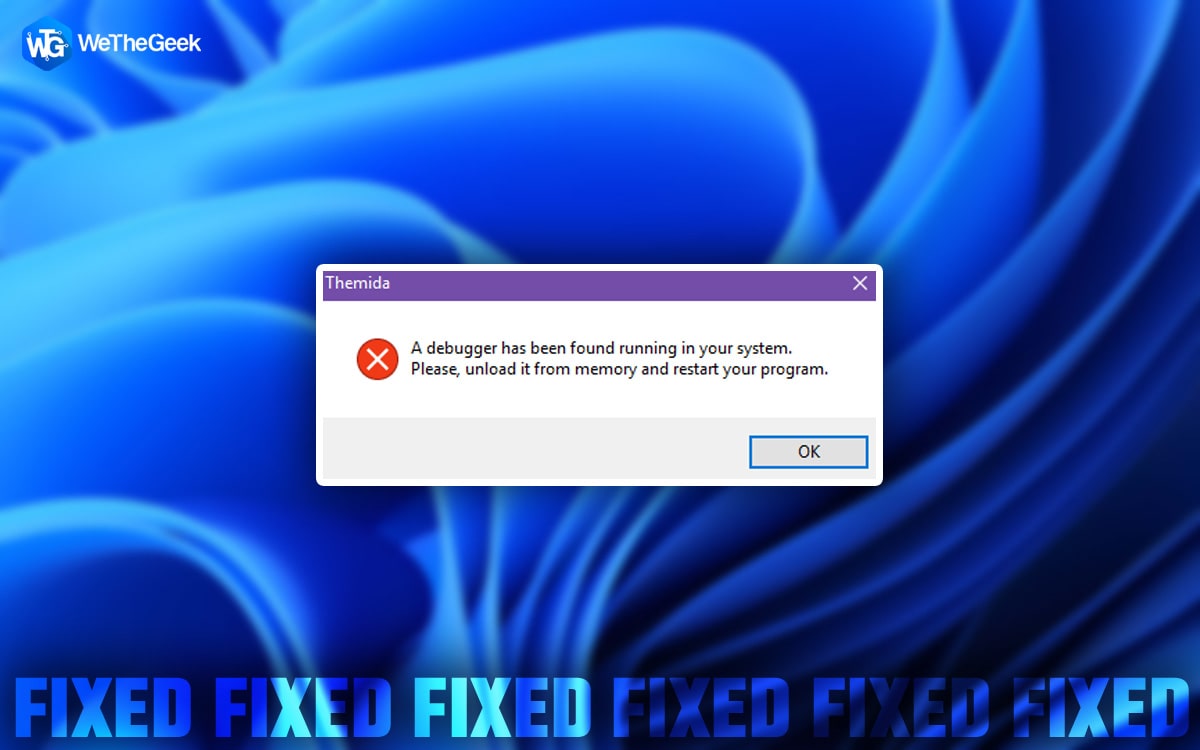
Did you just encounter the “A debugger has been found” error on Windows 11? Well, yes, it’s extremely annoying and can interrupt your workflow. This error usually triggers when you’re trying to open certain apps or games on your device. If this error pops up, you won’t be able to even launch the program which is quite disappointing.
Wondering how to fix this issue? We’ve got you covered. In this post, we have listed a variety of solutions that you can use to get rid of this error message.
Let’s get started.
6 Ways To Fix “A Debugger Has Been Found” Error on Windows 11
Solution 1: Configure the System Configuration Settings
If the Debug mode is enabled by default then you may constantly see the “A debugger has been found” error while using your device. To uncheck the Debug mode, you will have to make a little change in the System Configuration window. Follow these quick steps to do the same:
Step 1: Press the Windows + R key combination to open the Run dialog box.
Step 2: Type “Msconfig” in the textbox and hit Enter.
Step 3: In the System Configuration window, switch to the “Boot” tab. Tap on “Advanced Options”.

Step 4: You will now see the Boot Advanced Options window on the screen. Uncheck the “Debug” option in case it was enabled by default.

Step 5: Exit all windows, reboot your device and check if the issue was resolved.
Also read: How To Fix ‘There Has Been an Error’ in Microsoft Store
Solution 2: Add the App to the Exclusion List
If the “A debugger has been found” error keeps popping up when you try to open a certain app or game then you can try this method. You can add the affected program to the antivirus software’s exclusions list. Here’s how you can add an item to the exclusions list on the Windows Security app.
Step 1: Tap on the search icon placed on the Taskbar, type “Windows Security” and hit Enter to launch the app.
Step 2: Switch to the “Virus and threat protection” tab from the left menu pane.
Step 3: Tap on the “Manage Settings” option.

Step 4: In the next window, scroll down to the “Exclusions” section. Tap on the “Add or remove exclusions” option.

Step 5: Hit the “Add an Exclusion” button. You will now see a list of all the installed programs on the screen. Select the app that you wish to add to the exclusions list.
Step 6: Relaunch the application and check if you are still encountering the error.
Solution 3: Uninstall GameGuard
Several users reported that uninstalling the GameGuard app helped in getting rid of the debugger error message. So, go ahead and try your luck. Here’s what you need to do:
Step 1: Press the Windows + R key combination to open the Run dialog box. Type “appwiz.cpl” in the textbox and hit Enter.

Step 2: Scroll through the list of programs to look for “GameGuard”. Right-click on it and select “Uninstall”.
Solution 4: Use the System Restore Feature
If you are unable to get rid of the debugger error on Windows then you can use the System Restore feature to roll back your computer to a previous checkpoint. By doing so, you easily undo all the recent changes that may have been causing the error. Here’s what you need to do:
Step 1: Tap on the search icon placed on the Taskbar, type “Create a Restore Point” and hit Enter.

Step 2: The System Properties window will now appear on the screen. Tap on the “System Restore” button.

Step 3: Follow the on-screen instructions to proceed. Select the most recently created checkpoint to roll back your device.
Step 4: After restoring your device to a previous date and time, you will hopefully resolve the debugger error.
Also read: How To Fix The “Not Enough Physical Memory Is Available” VMware Error In Windows
Solution 5: Update Windows
Using an outdated version of Windows can also trigger the “A debugger has been found” error on your device. So head to the Settings app and install the latest version of Windows 11 on your device.
Step 1: Open the Settings app, and switch to the “Windows Update” section from the left menu pane.

Step 2: Tap the “Check for Updates” button.
Step 3: Windows will notify you if any update is available for your device. Upgrade your Windows PC to the latest version right away.
Also read: Top 8 Best Debugging Software For Windows PC
Conclusion
Here are a few simple solutions to fix the debugger error on Windows 11. You can use any of these potential solutions to get rid of the debugger error within no time. But most probably, unchecking the “Debug” mode in the System Configuration window will do the trick.
Was this post helpful? Were you able to get rid of the error? Feel free to share your thoughts in the comments window. You can also find us on Facebook, Twitter, YouTube, Instagram, Flipboard, and Pinterest.

 Subscribe Now & Never Miss The Latest Tech Updates!