Do you know how many background processes run on your PC when it boots?
Probably “A lot” or A whole lot.” But do we need all these processes to run? Most Likely, yes as these programs ensure changes made to the system stay intact upon restart.
Amongst these programs, one such program is known as IgfxEM (Intel Graphics Executable Main Module). It is an essential part of the Windows operating system and runs in the background.
However, when such a program starts creating a nuisance and you experience 100% CPU usage caused by IgfxEM things get problematic.
Hence, in this write-up, we’ll explain what IgfxEM Module is, what it does and how to resolve high CPU usage caused due to IgfxEM.exe.
What is IgfxEM.exe
Intel graphics Executable Main Module (IgfxEM.exe) is an executable file related to Intel’s Common User Interface. Designed and developed by Intel this file is genuine and it runs on PCs with Intel graphics. Moreover, this executable file works as a bridge between the display interface and graphics card and it saves the display settings.
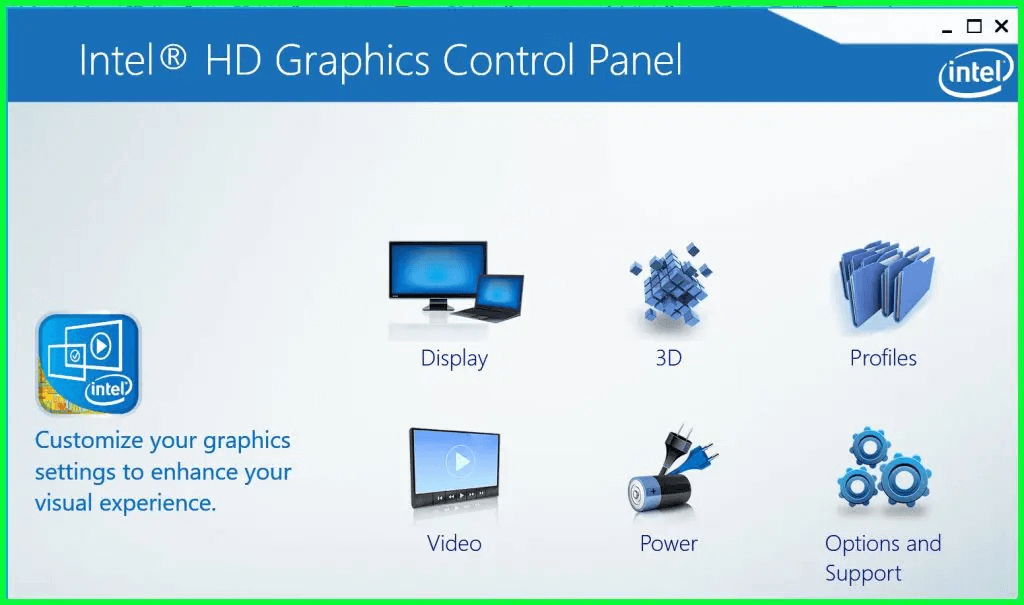
All this makes it an important component of the Windows operating system and sometimes due to this, you might see Igfxem.exe leading to high CPU or high disk usage.
Besides, this sometimes due to outdated graphics cards, malware infection, and unwanted processes running in the background, you too can face High CPU problems caused by Igfxem.
Note: Igfxem Main Module process is also used by NVIDIA and AMD graphics card drivers.
Luckily, this issue can be fixed by following the 5 best ways explained below.
 Additional Tip
Writer’s Tip
To fix various Windows-related problems, we recommend using Advanced PC Cleanup – a professional system tweaking and tune-up utility.
This software helps repair common Windows problems and protects against malware, spyware, problems caused due to invalid registry entries, junk files, and more.
To use this intelligently designed tool, follow the steps below:
1. Download Advanced PC Cleanup.
2. Run the smart PC cleaner and click Start Scan Now.
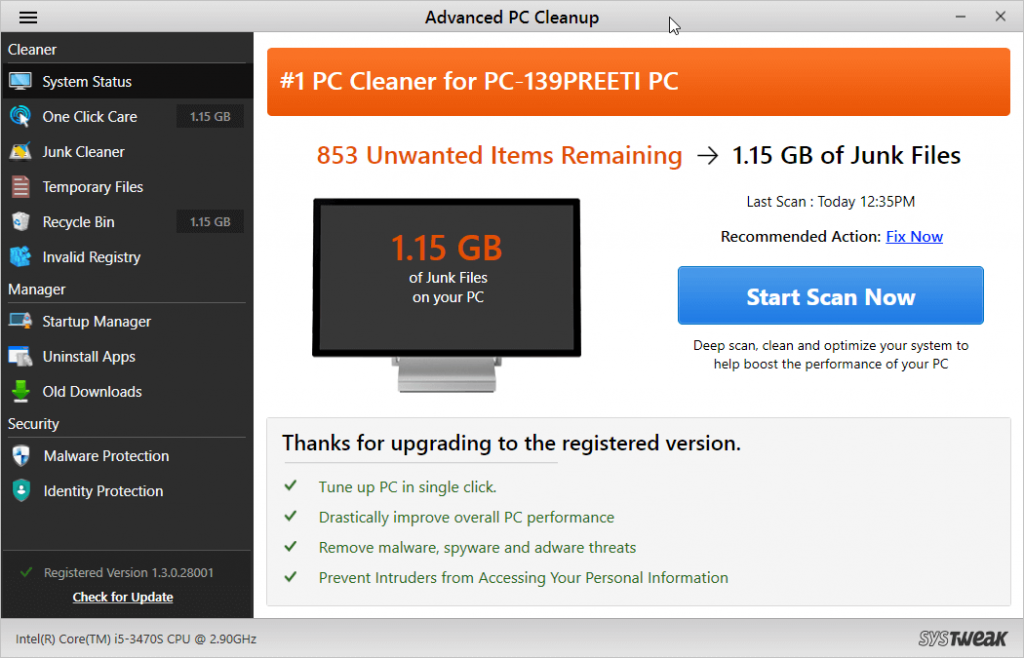
3. Wait for the process to finish.
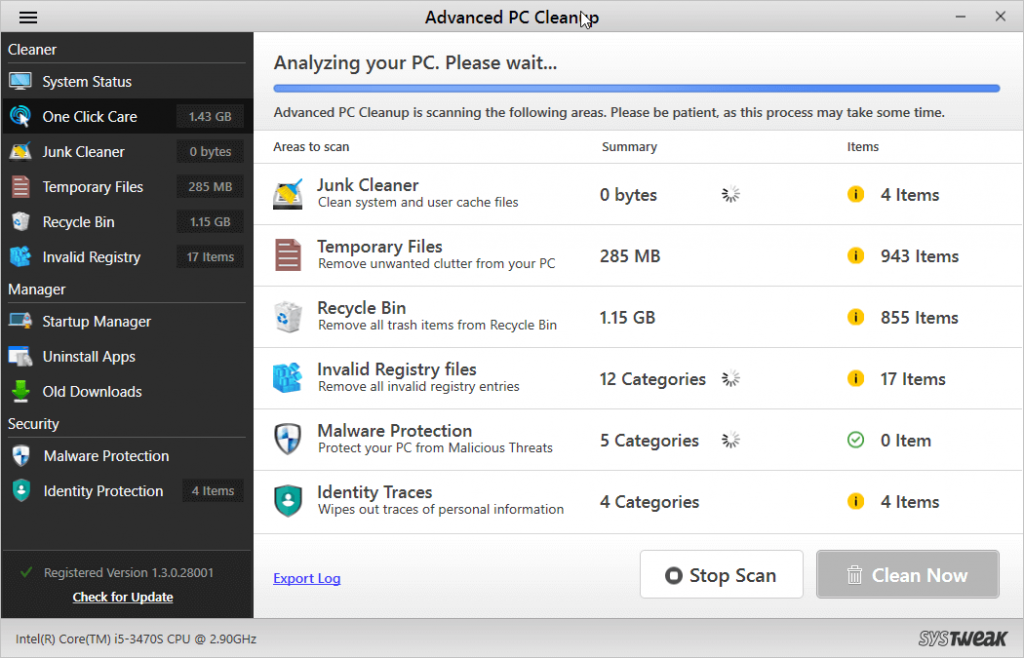
4. Thereafter, click Clean now to fix all detected errors.
Once this is done, restart the system to see if the Igfxem.exe 100% CPU Usage problem is fixed or not. If it exists worry not, read further and apply the 5 top fixes to troubleshoot the Igfxem module high CPU problem.
5 best Ways to fix IgfxEM.exe High CPU Usage Problem – Windows
1. Scan system for malware
Sometimes, when we see 100% CPU usage or experience a slow and sluggish system performance, we assume our system is infected. To rule out this possibility, we suggest running a trusted and reliable security application like Systweak Antivirus that helps stay protected against the latest and old threats.
This best security tool for Windows offers two scanning modes and shields from all types of threats. Moreover, it scans the system in real-time and gets automatic definition updates
To use Systweak Antivirus, follow the steps below :
1. Download and install Systweak Antivirus.

2. Run the product and scan the system for threats.
3. Thereafter, quarantine all the detected infections and clean the system.
In addition to this, to rule out all suspicions, we suggest checking the file location of the IgfxEM process. To do so, open Task Manager by pressing Ctrl+Shift+Esc. Look for the IgfxEM process right-click the file > Open Location. It should read as C:\Windows\System32\igfxem.exe.
If it is different you need to scan the system for infection and remove all malicious files.
2. Restart IgfxEM process
If cleaning infections from Windows did not help fix High CPU usage, we suggest killing the IgfxEM process. To learn how to do that, follow the steps below:
1. Press Ctrl + Shift+ Esc to open Task Manager.
2. Click the Processes tab and navigate to igfxem.exe > right-click > End task.
Doing so will help reduce CPU usage and disable files temporarily. If this too doesn’t help, nothing to worry about, we have other solutions.
3. Update graphics driver
Even after restarting the IgfxEM process, if the problem persists try updating the graphics driver. As outdated and corrupt drivers also lead to High CPU resource usage.
You can update drivers by visiting Intel’s Download Center or can update it automatically using the best driver updater like Smart Driver Care.
Here we explain how to use both methods.
1. Visit Intel’s Download Center and download the latest graphic driver.
2. Unzip the downloaded file to the location of your choice.
3. Open device manager via run window. press Windows Key + R > type devmgmt.msc > ok.
4. Expand Display adapters section. Select Intel graphic option > right-click > Update Driver > Browse my computer for driver software > Browse and head to the location where you have saved the currently downloaded driver files.
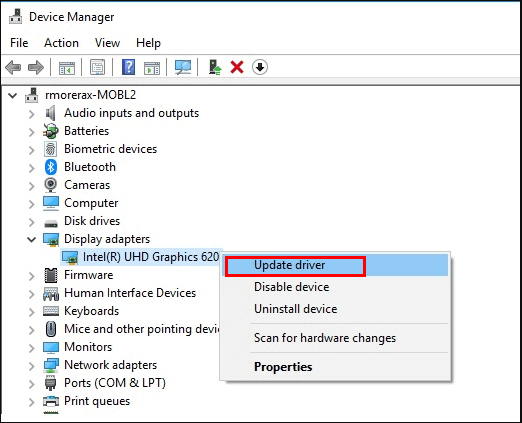
5. Click OK > Next > reboot the system.
If this seems too much work and you don’t want to risk downloading incorrect drivers, we suggest using Smart Driver Care. A third-party driver updating application that helps detect and update all outdated drivers.
To use it, follow the steps below:
1. Download and install Smart Driver Care
2. Click Start Scan Now to scan the system for outdated drivers.
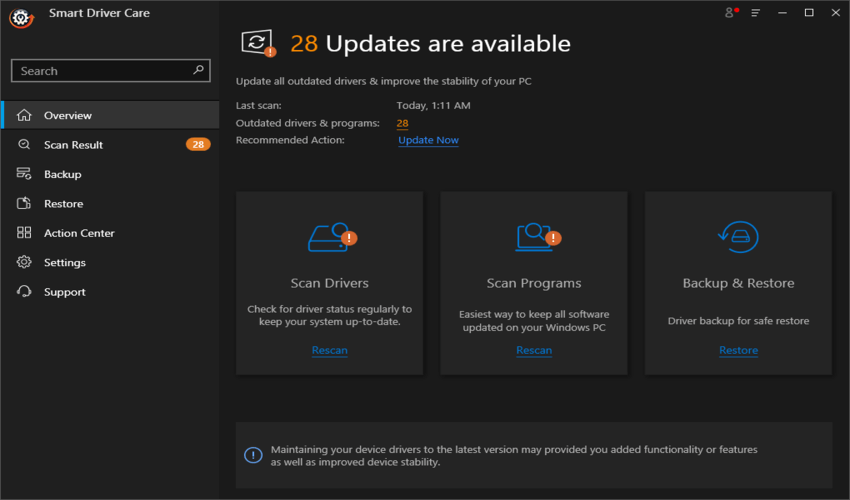
3. Wait for the scan to finish, once done update the outdated graphics driver or update all outdated drivers at once by clicking Update All
Note: To update all drivers, you will need to upgrade to the pro version of Smart Driver Care.
This should help fix IgfxEM.exe’s high CPU usage problem.
4. Stop IgfxEM.exe from running at startup
If you have updated the graphics card driver and still the IgfxEM.exe problem exists try disabling the IgfxEM process. To do so, follow these steps:
1. Press the Windows + R > type msconfig.
2. Hit Services and look for the IgfxEM module.
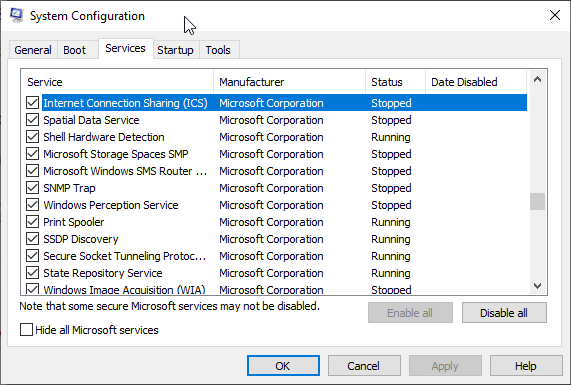
3. Uncheck the box, next to it > Apply > OK.
This will stop IgfxEM.exe from running at startup.
Note: In the future, if you want to run Igfxem.exe repeat the same process and this time check the box next to IgfxEM.
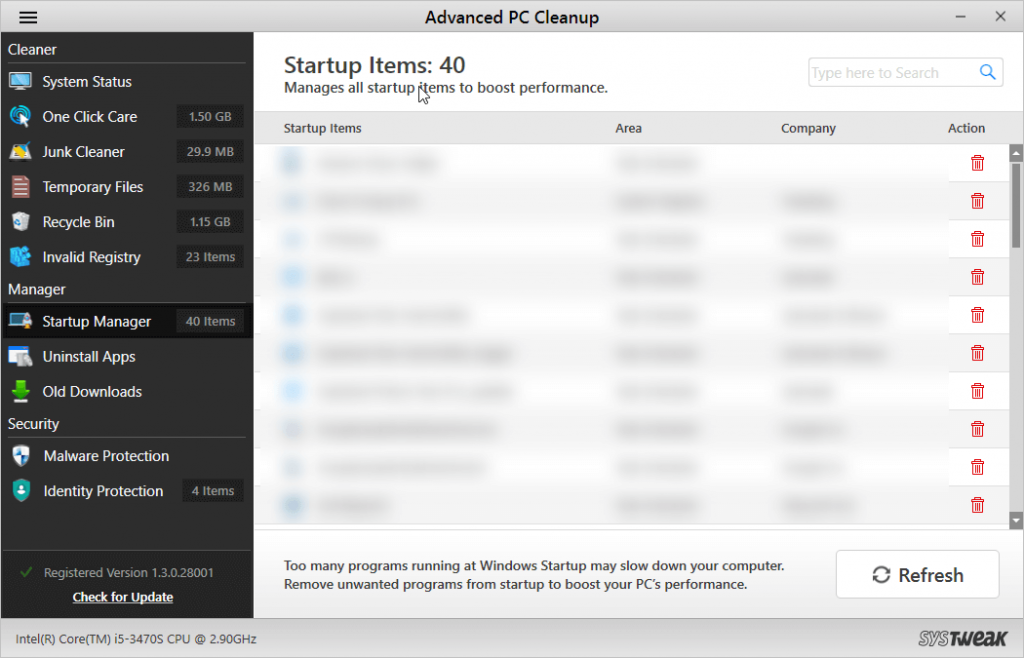
However, if this seems to be a tedious job, try using the Startup module offered by Advanced PC Cleanup.
1. Launch Advanced PC Cleanup.
2. Click Startup Manager wait for it to list down all startup applications
3. Select IgfxEM.exe and click the Trash icon.
That’s it, this will stop it from running at startup.
5. Disable all unnecessary running processes
In case nothing has worked so far try the last fix and disable all unwanted processes.
1. Press Ctrl+Shift+Esc to open Task Manager
2. Click the Processes tab and see how much resources are used by each app
3. Select the program that is taking enough CPU resources and kill them.
Note: Before killing any process make sure the program is not running on the system. Also, avoid interfering with basic processes like explorer.exe and winlogon.exe
Conclusion
So, these are the best fixes using which you can fix high CPU problems you face on Windows 10. You can try any of them as there is no order to follow them and this will help fix the problem. If you think outdated drivers are the problem, try updating them and then follow other steps.
We hope you enjoyed the article and it proves beneficial to you. If you have tried any other fixes and they have helped please share the same with us. Also, share your feedback as we love hearing from you.
FAQ –
Q1. What is the IgfxEM.exe module?
IgfxEM.exe module is a genuine software component offered by Intel and is signed by Microsoft. It helps communication between the display settings and the computer.
Q2. Do I need the IgfxEM.exe module?
IgfxEM.exe is Intel’s main control module and it acts as a bridge between Intel Graphics card and Windows OS. If you face any problem due to the model you can try killing the task temporarily using the steps explained above.
Q3. Is the IgfxEM.exe module a virus?
No, it is a genuine Windows component. However, if the file location is not C:\Windows\System32\igfxem.exe then you need to scan the system for viruses and threats.
Q4. How do I disable the IgfxEM.exe module?
To disable the IgfxEM.exe module you can use Startup Manager offered by Advanced PC Cleanup. Using it you can easily disable the IgfxEM.exe module and other unwanted processes. To use it, launch Advanced PC Cleanup > Startup MAnger > select IgfxEM.exe and click the Trash icon.


 Subscribe Now & Never Miss The Latest Tech Updates!