
Want to wipe your laptop to a clean slate? If so you can easily get it by restoring your Mac to factory setting. Doing so will erase all the data you have on your Mac therefore before restoring your Mac you need to deauthorize your computer from all connected accounts and take a backup. To know how to do it all read the article till the end.
Note: Steps mentioned below will help you restore MacBook, Mac Pro, iMac, MacBook Air and MacBook Pro.
How to reset MacBook Pro to factory settings without losing data
When iMac is restored to factory settings, all saved information gets deleted. Therefore, to save important data from being deleted backup is must. Once can take manual backup of all files and apps by copying them to external drive or can use iCloud. But the most secure and fastest method is Time Machine — the Mac’s built-in software. It allows to recover individual files and restore complete hard drive in case of a disaster.
But, before using Time Machine, make sure all clutter, junk and duplicate files are removed from your Mac as taking backup of unwanted data makes no sense. Besides, clutter free backup is more useful. For a quick cleanup, you can use a third party utility tool such as Cleanup My System. It will help to optimize Mac by removing large and old files, useless apps, caches, and system junk in a few clicks. The latest addition to Cleanup My System also lets you get a storage visualization with the Disk Analyzer module.
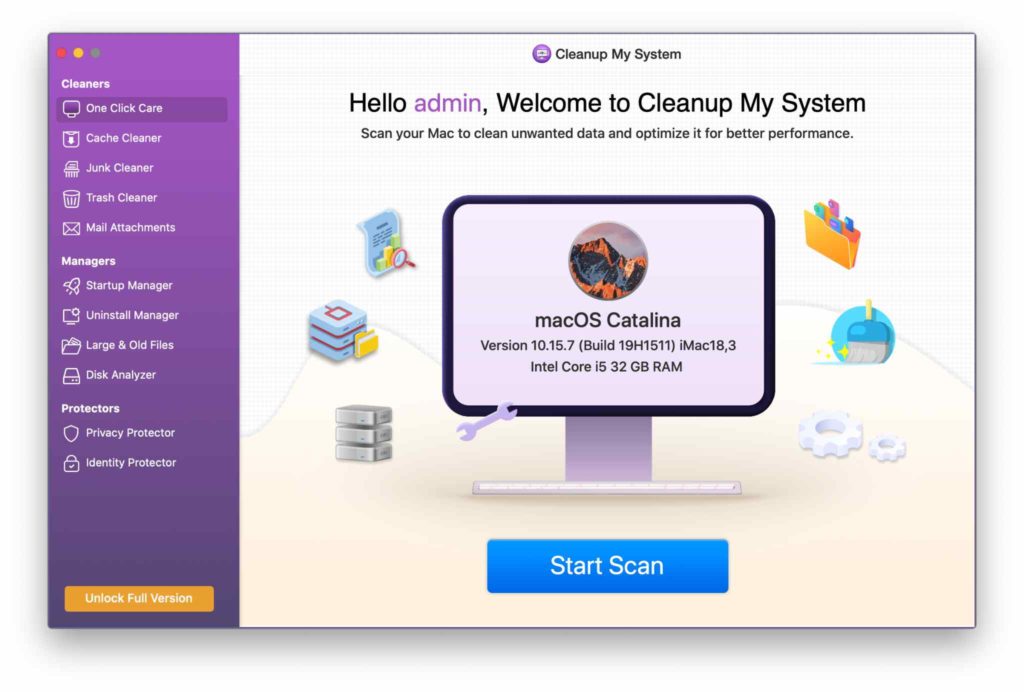
Here’s how to recover valuable disk space by cleaning GBs of junk in a jiffy:
1. Download and launch Cleanup My System from the AppStore link given below.

2. From the left pane, click on One-Click Care and then the Start Scan button.
3. Cleanup My System will start analyzing your Mac for junk files, trash, and other unwanted data.
Enable Time Machine Backup –
Once your Mac is cleaned and optimized by Cleanup My System, enable Time Machine backups.
To do so, follow the steps below:
- Go to the Apple menu, present at the top left corner of the home screen.
- From here select System Preferences from the drop down.
- Now, choose Time Machine from under System Preferences window.
- Here, click on the Select Backup Disk button to choose the disk, you’ll use to take backup.
- Next, click on Use Disk.
- After that, check the Back Up Automatically box to proceed and start with the automatic backup on the selected disk.
For assistance refer to the screenshot below:

That’s it, backup of all your important will be done on selected disk.
Note: If it is the first time you’re taking backup it will take time depending on the data you have. Therefore, we suggest you wait do not abort the operation let backup finish so that if anything goes wrong while you are resetting your Mac to factory settings you can restore the data.
Things to remember when resetting MacBook Pro
Once backup of all important file is taken, you need to disable all the services associated with your system like, iCloud, iTunes and iMessage, and even deactivate programs on your Mac.
1. Deauthorize iTunes
Up to 5 computers can be authorized to play your content. Therefore, you need to deauthorized iTunes so that your computer is no longer linked with your iTunes accounts. Don’t skip this step do, deauthorize from iTunes now.
Here’s how to sign out of iTunes:
- Open iTunes on your Mac > click Account option present in the menu bar.
- Under Authorization choose > Deauthorize This Computer.
- When asked for enter your Apple ID and password and click on Deauthorize.


That’s it, your computer is now deauthorized from iTunes.
2. Turn off FileVault
Next, you need to disable FileVault the security feature that encrypts data on your disk from unauthorized access.
To disable FileVault follow the instructions given below:
- Go to Apple menu present at the top left corner of the home screen.
- From here select System Preferences from the drop down.
- Now, select Security & Privacy > FileVault.
- Click the lock icon to unlock it.
- Enter the administrator name and password.
- Choose Turn Off FileVault.


3. Disable iCloud
After this, sign out of your iCloud to avoid other user from accessing your cloud data like notes, bookmarks, reminders etc.
To do so, follow the steps below to disable iCloud:
- Apple menu > System Preferences > iCloud.
- Click Sign Out and confirm to delete all the data saved from your Mac.

4. Sign out of iMessage
Apart from this, you need to make sure that you are signed out of iMessage too.
To do so, follow the steps below:
- Open Messages.
- Next click on Messages present at the top left corner of the home screen.
- Here, select Preferences > choose iMessage account > click on Sign out.
All done, using these simple steps you will be able to logout of all the connected accounts.
5. Erase Touch Bar Data
Now, that you are logged out of all the connected accounts, it’s time to clear Touch Bar information.
To do so, follow the steps mentioned below:
- Restart your Mac and hold down Command+R keys.
- Here, select Utilities > Terminal from the macOS Utilities window.
- Type xartutil –erase-all terminal command in the Terminal.
- Press Return and type yes when asked to confirm and again press Return.
- Next, select Terminal > Quit Terminal.
Now, that you have backed up your data and signed out of everything, you are ready to wipe your Mac and give it away without any fear.
To learn how to restore Mac to factory settings read further.
Following step-by-step guide will help you to factory reset Mac.
Step 1: Restart Your Mac in Recovery Mode
To restart the Mac in recovery mode, go to the Apple menu present at the top left corner of your home screen, and from here, select Restart. As the system reboots, holding Command and R keys together will bring up the Recovery Mode window.
Step 2: Erase Mac hard drive
Now that you are into Recovery mode, you need to erase hard disk to reset Mac to factory settings.
To do so, follow the steps below:
- Select Disk Utility option from the Utilities window.
- Next, click Continue button and choose startup disk.
- To erase all the saved data, click on Erase button present at the top of Disk Utilities window.
- Next, make sure you have Mac OS Extended (Journaled) in the Format bar and then click on Erase button.

After completing the process explained above, go to Disk Utility menu present at the top left corner of the home screen choose Quit Disk Utility.
This way you will be able to delete all the saved data on your hard disk
Now that you have a fresh mac after factory resetting the Mac, you can reinstall Mac.
Step 3: Reinstall your operating system
To reinstall OS X, click Reinstall macOS and follow on screen instructions.

However, if you are not going to use it you can quit this step as the new user will install the set the macOS as he wishes. To quit, hold down Command + Q keys and select Shut Down.
That’s all. Your Mac is now ready for a fresh start for anyone who would want to use it. Be it you or a new owner.
We hope you find the guide helpful and can follow all the steps to reset the MacBook to factory settings. If you need any other information let us know we will be happy to help you.

 Subscribe Now & Never Miss The Latest Tech Updates!