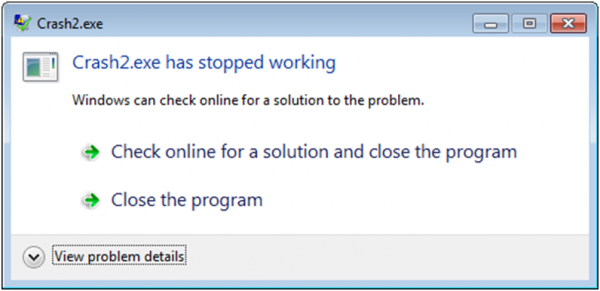
Windows 10’s environment is full of programs and applications. There are a ton of apps and programs loaded on Windows 10 which makes our experience delightfully entertaining. But there are a few times, when a certain app crashes suddenly and we’ve got no clue why. Well, of course Windows instantly opens the repair program window as soon as any app or program crashes or stops responding. But this solution is not effective most of the times.

So, when a certain app crashes on Windows for whatever reason, we obviously need to fix it right away! If the issue is not addressed by Windows Repair program installation, then here’s what you can do. This blog covers a complete guide on how to repair or uninstall a program on Windows 10 so that you can deal with corrupt apps without any hassle.
 How to Recover Permanently Deleted Files in Windows...Do you want to recover permanently deleted files in windows 10? Well, you can restore your lost files, photos, videos...
How to Repair a Program on Windows 10
Sometimes apps can misbehave due to missing, or corrupt files. The repairing protocol on Windows 10 is pretty simple. As soon as file or program crashes, first the system checks for fix entries in Registry, and then checks all files in program folder to replace corrupted files that need fixing.
There are basically two ways how you can repair a corrupted program or app on Windows 10. We’ll be discussing both the methods in detail.
Via Control Panel
To repair a corrupted program or app via control panel here’s what you need to do.
Launch Cortana and type “Control Panel” in the search box and then hit enter.

Select “Programs” in the control panel window.

Now tap on “Programs and Features” option.

In this new window that appears on screen, you’ll see a whole list of all programs and applications that are installed on your Windows. Scroll through this list to find the name of corrupted program or app which you want to repair.
Once you find it, single click on its name and you’ll see a “Repair” option on menu bar.

As soon as you tap on the “Repair” button, Windows will take care of the rest.

However, there’s one specific limitation involved with this process. Before you decide to follow these steps, just make sure you’ve Windows installation package pre-installed on your system. In case you don’t have it loaded on your system simply go to the website and re-download the installer.
 How To Turn Off Fast Startup in Windows...Fast Startup or Fast Boot feature was initially introduced with Windows 8. While it is quite useful, they have been...
Via Settings App
Another method of repairing a program on Windows is by using the Settings app. Let’s discuss it in detail.
Launch the Settings app on Windows by pressing Win+I key.

Select Apps and then “Apps and Features”.
Again, you’ll see a list of all programs and apps installed on your Windows. Scroll through the list and pick the program or app which you wish to install.

Once you single-click on its name, you’ll see a “Modify” option.
A setup wizard will open, follow the on-screen instructions and Windows will take care of the rest.

Once this process is completed, your program will be successfully repaired.
 How To Setup And Manage An FTP Server...If you want to create a site, which can be accessed by selected people to store their files, download files...
How to Uninstall a Program on Windows 10
If repairing a program doesn’t fix the issue, you can try uninstalling and reinstalling the app.
Open Windows settings> apps>programs and features.
Scroll down the list until you find the program you need to uninstall from your system.

Tap on it and hit the “Uninstall” button.
From this point forward, Windows will take care of rest of the process and will safely remove the corrupted app from your system.
So folks here was a quick guide on how to repair or uninstall a program on Windows 10. In this way you can easily deal with all corrupted apps and programs on your own, without seeking any further technical assistance.


 Subscribe Now & Never Miss The Latest Tech Updates!