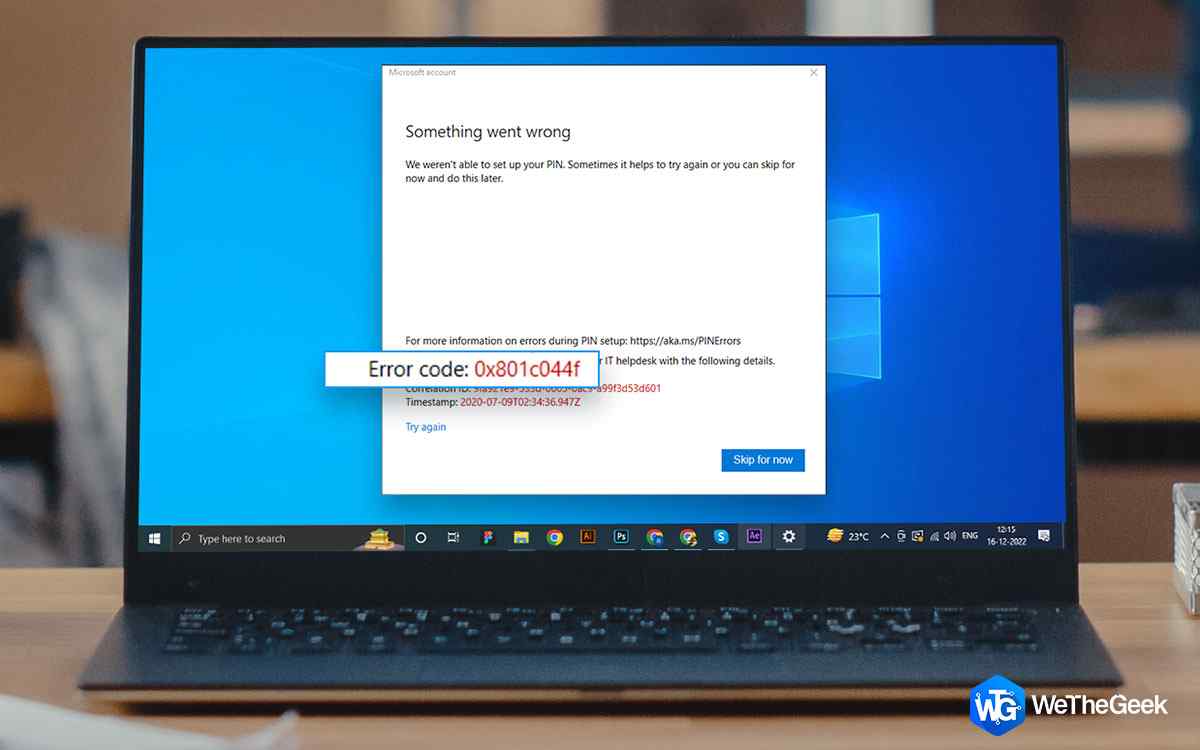
Received error 0x801c044f while setting up a PIN on your laptop? Here are ways to fix the issue
Are you trying to ditch those big passwords for logging into your Windows device and replacing them with smaller PINs but can’t because the error code 0x801c044f is stopping you? Time to take the plunge and get rid of this error once and for all!
Overview –
Windows Hello is a biometric-based technology that lets you access your Windows devices using a PIN, fingerprint, or facial recognition. We have already covered a post that talks about how to set up Windows Hello on a computer and other such aspects But, what if despite trying everything you are unable to set up a PIN and are constantly bumping into error 0x801c044f?
Worry not! By the end of this post, you should be able to resolve the issue. Read on!
How To Get Rid of Error 0x801c044f While Setting PIN on Windows
1. Fix Corrupted System Files
The SFC and DISM commands are used when the issue has surfaced because of corrupt system files or if there are corruptions in the Windows image. Quite possibly, if you cannot set up a PIN and are receiving the error 0x801c044f, it could be one of these reasons. Here are steps to run the SFC and DISM commands-
- In the Windows search bar, type Command.
- From the right-hand side, select Run as administrator.
- When the Command Prompt window opens type SFC /Scannow and press Let the scan complete.

If this scan hasn’t been fruitful bring into force the DISM command as shown below –
- Type the DISM commands mentioned below one after the other separated by the Enter key –
DISM /Online /Cleanup-Image /CheckHealth

DISM /Online /Cleanup-Image /ScanHealth
DISM /Online /Cleanup-Image /RestoreHealth
2. Use A Fingerprint Reader
While you resolve the 0x801c044f issue when trying to set up a PIN, you can meanwhile secure yourself using Fingerprint recognition or even Facial recognition. This way you won’t put your security in danger. To do that –
- Open Settings by pressing Windows + I.
- Click on Accounts.
- Click on the Sign-in options.

- Under Manage how you sign in to your device, locate the Windows Hello Fingerprint.

- Click on Set up and continue with the on-screen instructions.
In case you are unable to set up Windows Hello Fingerprint –
- Open the Run dialog box by pressing Windows + R.
- When the dialog box opens, type regedit and press Enter.
- In the Registry Editor window head to the following path –
HKEY_LOCAL_MACHINE\SOFTWARE\Policies\Microsoft\Biometrics
- Right-click on Biometrics. In case you don’t find this key, right-click on Microsoft, select New > Key and name it Biometrics.

- Once you have right-clicked on Biometrics, select New > DWORD (32-bit) Value
- Rename it as Enabled and change the Value data to 1
3. Conduct A System Restore
You can conduct a System Restore and revert your computer to a time when you were able to set up a PIN and were not receiving the error. For this, you must create a System Restore point before. To use a System Restore point.
- Type System Restore in the Windows search bar and click on Create a restore point.
- When the System Properties window opens, click on System Restore.
- Click on Next.
- Select a restore point and click on Next.

- Follow the on-screen instructions.
4. Delete NGC Folder
The NGC folder consists of all PIN-related information and if this becomes corrupt, you might not be able to set up the PIN and receive the error 0x801c044f. You can, therefore, delete this folder and get rid of the issues. To do that follow the steps mentioned below –
- Open File Explorer.
- Navigate to the following path –
C:\Windows\ServiceProfiles\LocalService\AppData\Local\Microsoft
- Locate the NGC folder and delete it.
- Restart your computer and check if you can log in using your PIN.
5. Modify Group Policy
Quite possibly you have restricted setting up PIN via a domain policy. You can change this in the Group Policy Editor provided you have administrative privileges. To make the changes, follow the steps mentioned below.
- Open the Run dialog box by pressing Windows + R.
- When the dialog box opens, type msc and click Enter.
- When the Local Group Policy Editor opens, navigate to the following path –
Computer Configuration\Administrative Templates\System\Logon

- On the right-hand side, double-click on Turn on convenience PIN sign-in and select Enabled.
- Click on Apply and then OK.
Wrapping Up
Setting up a PIN gives you so many benefits – ease of remembering and faster access to your device being some of them. If you have been able to fix the 0x801c044f error and are now able to set up PIN successfully, do let us know in the comments section below. For more such content, keep reading WeTheGeek.


 Subscribe Now & Never Miss The Latest Tech Updates!