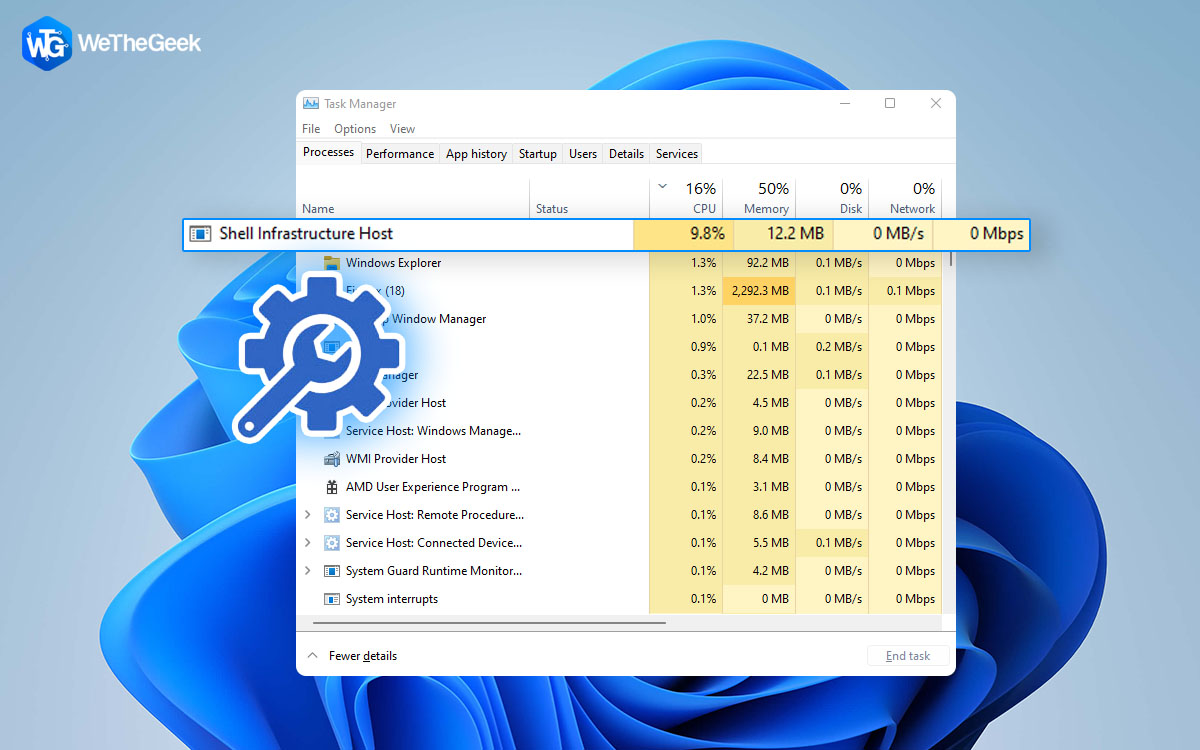
Many Windows 11 users are complaining that the ‘Shell Infrastructure Host’ process frequently consumes CPU resources when it shouldn’t be doing so. For instance, when performing routine tasks like viewing images on internal or external SSD, affected customers face slow PC issues due to a lack of resources. This blog intends to fix the ‘Shell Infrastructure Host’ high CPU usage on Windows 11 PC.
Methods On How To FIX ‘Shell Infrastructure Host’ High CPU Usage On Windows 11

A. Activate The System Maintenance Troubleshooter
A number of users who were having the same problem have indicated that it was fully fixed in their circumstances after running the System Maintenance Troubleshooter and applying the below mentioned fix. What you must do is as follows:
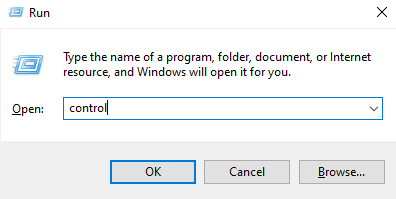
Step 1: To bring up the Run dialogue box, press the Windows key + R.
Step 2: Type “Control” and press hit Enter to open the Control Panel window.
Step 3: Once you’re in the traditional control panel menu, utilize the search bar at the top to enter “troubleshooter” to find the solutions.

Step 4: Next, select System and Security from the Troubleshooting section, then click Run Maintenance Activities.

Step 6: Select the Advanced link from the first screen of System Maintenance, then select the box next to Apply repairs automatically.

Note: Reopen the utility with administrator access by clicking the link that says “Run as administrator” if you see it. Your chances of resolving the problem will increase as a result.

Step 7: When you’re ready to launch the troubleshooter, click Next. Then, if necessary, click Try troubleshooting as an administrator, and then wait for the application to finish.

Step 8: If the troubleshooter finds a problem and says it has been rectified, restart your computer to determine if the issue has been resolved.
Also Read: How To Fix Compatibility Troubleshooter not Working on Windows 11
B. Install All Windows Updates
Given that this problem extends back to Windows 10, Microsoft has had plenty of time to fix it. Their most recent initiatives included several hotfixes distributed as cumulative updates for Windows 10 and Windows 11. To fix this issue, install the missing hotfixes on your Windows PC. Follow these steps to update Windows:
Step 1: By pressing the Windows key and R, the Run dialogue box will appear.
Step 2: Enter “ms-settings:windowsupdate” into the text box to open the Windows Update tab of the Settings program.

Note: You may now encounter an account control prompt if you haven’t adjusted the default UAC settings. Click Yes to grant admin access in this instance.
Step 3: After that, select Check for Updates on the right side of the screen.

Step 4: Next click on Install Now.
Step 5: Restart your PC after all updates have been installed.
Step 6: If you’ve installed every scheduled Windows update and you still have the issue, keep reading for the next potential fix below.
Also Read: How To Prevent Windows Updates From Crashing Your PC
C. Activate A CHKDSK Scan

If you’re still using a traditional (HDD) drive, the first thing you should do is run a CHKDSK scan. It is important to determine whether this behavior is actually related to a failing disk sector that is beginning to fail.
By replacing damaged sectors with healthy ones, running a Check Disk Scan will help you extend the life of your HDD in this circumstance. Try launching a CHKDSK scan from an elevated CMD prompt to rule out this possibility.
Also Read: How To Fix ‘CHKDSK Cannot Continue In Read-only Mode’ Error In Windows 10?
D. Utilize DISM And SFC Scans

if you’ve reached this point in your hunt for a fix without luck, it’s likely that you’re dealing with system file corruption . That causes the Shell Infrastructure Host process to use a lot of CPU.
The next action should be to launch DISM (Deployment Image Servicing and Management) and SFC (System File Checker). The two built-in programs that can address the most frequent causes of system file corruption. Although SFC and DISM are roughly equivalent, We advise running both of them one after the other to enhance your chances of resolving the corruption issue.
Also Read: SFC Scan Stops Working on Windows 10? Here’s the Fix!
The Final Word
We hope you know how to fix the ‘Shell Infrastructure Host’ High CPU Usage On Windows 11. The above expert-recommended methods will definitely help resolve your issue.
Please let us know in the comments below if you have any questions or recommendations. We would be delighted to provide you with a resolution. We frequently publish advice, tricks, and solutions to common tech-related problems. You can also find us on Facebook, Twitter, YouTube, Instagram, Flipboard, and Pinterest.
Also Read:

 Subscribe Now & Never Miss The Latest Tech Updates!