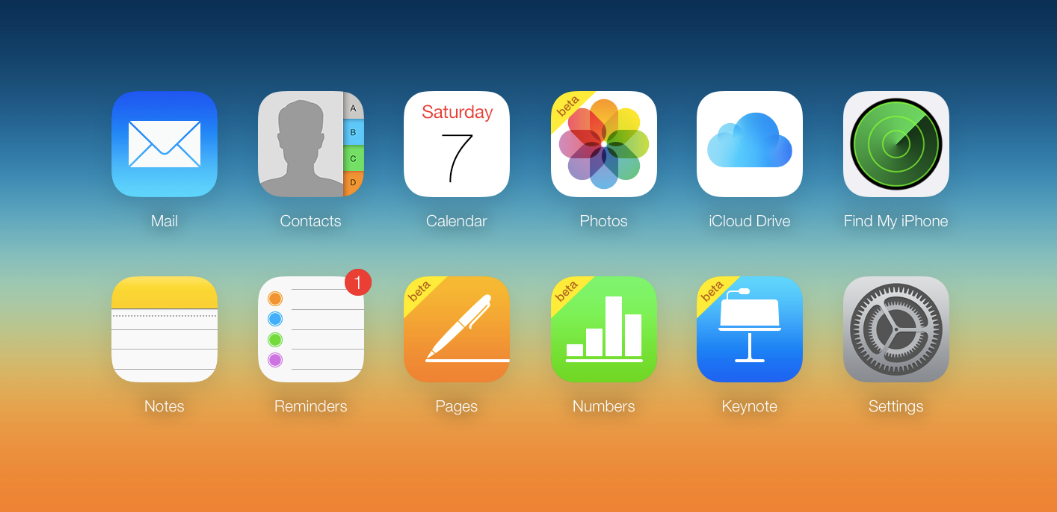
When it comes to cloud technology, iCloud steals everyone’s thunder. iCloud is not only the safest but also the most reliable and user-friendly cloud storage service available for users. When you buy a new Mac, you’re supposed create an Apple ID, using which you can log in to your iCloud account too.
iCloud is a free service rendered by Apple. However, if you need more space on cloud, you may have to spend a few dollars. The minimum requirement to use iCloud on your Mac is that you must have the OS X version 10.7.5 or later. Here we have jotted down the steps to setup an iCloud account on Mac:
Step 1: Click on Apple icon in the top left hand side corner, and select System Preferences.

Image Source: hongkiat.com
Step 2: From ‘System Preferences’ window, click on iCloud icon, that is located beneath the Internet & Wireless group. In latest versions of Mac, there are no categories specified. In this case, just look for iCloud preference panel in the third row from the top.
See Also: Now Share your iCloud Photos with Android Users as Well!
Step 3: The iCloud window would show a login page, asking for your Apple ID and password. (If you don’t have an Apple ID, you can simply create one on iCloud’s website or using latest iTunes application in Mac. Be informed that the email id that you would be using to login, will be your Apple ID).

Image Source: mactips.info
Step 4: Once you’ve created your Apple ID, login using the same in iCloud.
Step 5: You can upload and store your photos, reminders, contacts, notes, Safari’s bookmarks, notes etc., on iCloud server. You can access this data from any iOS, Mac, or Windows device. You need to place a checkmark next to this option if you wish to upload this data.

Image Source: 9to5mac.com
Step 6: You’re allowed to upload and save any file regardless of its extension. Make sure you don’t exhaust the free space with unnecessary information, else you may have to pay for additional space.
Step 7: iCloud provides a safety feature, ‘Find My Mac’. It works on geolocation services to locate your Mac. If you happen to lose your Mac, you can send a message to your Mac, can remotely lock your Mac and even erase the data on the startup drive. Place a checkmark next to the ‘Find My Mac’ option to enable

Image Source: support.apple.com
See Also: How to Transfer your Data from an Old Mac to New
Step 8: Click Next.
Step 9: If you choose to use Find My Mac, a warning message would be displayed asking you to allow ‘Find My Mac’ to use your Mac’s location data. Grant the permission by clicking on ‘Allow’.

Image Source: computers.tutsplus.com
See Also: How to Sync ‘Photos’ to iPhone
Taking everything into account, it can be said that creating an Apple ID and using iCloud is a no brainer. At the time of creating Apple ID, you may be asked to choose three security questions for you to answer in case you happen to forget your password. Don’t forget, you can visit iCloud’s official website to access any of your uploaded data at any location.


 Subscribe Now & Never Miss The Latest Tech Updates!