No matter how great the apps have become on Windows PC but there are still some apps on your Android that haven’t made their way to Windows OS yet. Well, if you want to use those apps on your Windows computer, you can always do that. Moreover, if you are a developer and want to test an app on your computer, then all you need is a third party emulator that can make these apps run on your system. Sadly, unlike other programs it is not that easy to install Android emulator your system. Don’t worry, we have compiled a list of programs with installation steps to make it easy for you.
Let’s check out the guide on how to install Android on Windows PC.
1. BlueStacks

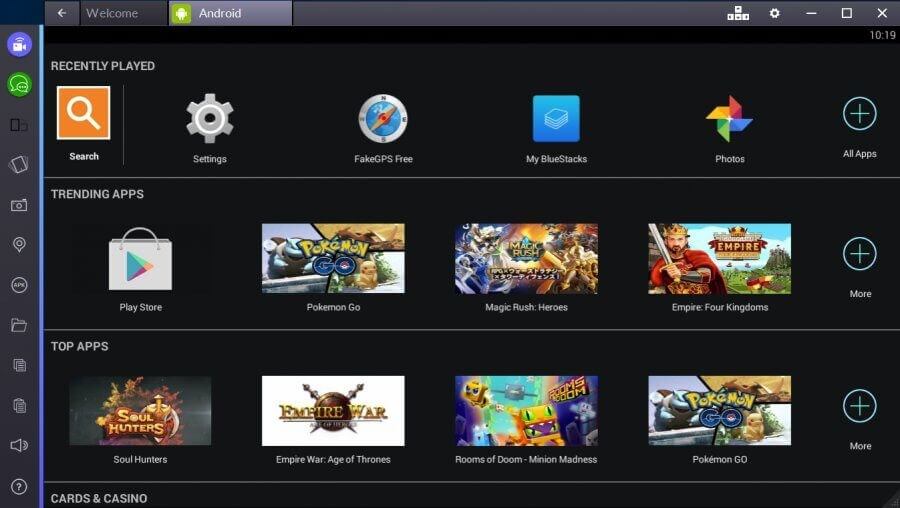
BlueStacks is one of the best ways to emulate Android. The app can be used as a way to run Android apps fast and full screen on Windows as well as Mac. It has a custom designed interface with toggle emulation settings. It has a layer cake technology which uses hardware accelerators to improve the performance of Android games in Windows. The system specifications that are needed to run it on your device:
- 2GB of RAM
- main memory 4GB of disk space available
- Direct X 9.0 or higher installed.
- NET Framework 3.5 SP3 or higher
You can download and install Bluestacks from the Bluestacks official website. Launch the installed application, enter your Google Account credentials, log in to Play Store and install the apps that you like. Moreover, now Bluestacks has a streaming platform, Bluestacks TV , and BlueStacks Appcast as well. With Bluestacks Appcast, you can launch the apps installed on your Android to your Windows computer.
2. Android Studio

Another good emulator, Android Studio is a good option to run Android on your PC. The app is released by Google. Just install the app and run apps faster than a physical device. It allows you to resize the emulator and gives you the access to suit of sensor controls. With Gradle, Android Studio gives high-performance build automation, customizable build automation and more. The app can be used to create virtual devices running all the version of Android with different resolutions and hardware configurations. You need following specs to run it on your device:
- Windows with 10/8/7 (32- or 64-bit) OS.
- 3 GB RAM minimum, 8 GB RAM recommended.
- 2 GB of available disk space minimum, 4 GB Recommended (500 MB for IDE + 1.5 GB for Android SDK and emulator system image)
- 1280 x 800 minimum screen resolution
- Java version Java Development Kit (JDK) 8
To get it on your system, you need to download and install Android Studio on the official website. After installing the emulator, you can set the interface and install the apps you like.
3. Android-X86

Android-X86 is an open source app that helps you run the latest version of Android on your PC. It emulates the same interface that you can see on Android tablets and smartphones. Android-x86 lets you customize Android according to your preferences.
There are no specific requirements needed but Android x86 has a list of the tested systems on which it works. You can checkout the list here. Although, you need to have 2GB free space on your hard drive.
You can download the.ISO file by the name of the device listed, download and install the file. If you don’t get your device name, download the generic file and then download UNetbootin. Open it and select the Android-X86 file. Select the USB drive from the options present, then click ok. UNetbootin will copy and install Android-x86 to the flash drive. Now reboot the computer. Boot to the boot device selection screen, choose your USB drive. From the UNetbootin menu, choose “Install Android-x86 to Hard Disk”. Next, install the emulator in the desired location. Once the installation initialized, it would be asked if you want to install GRUB, select all the positive options and reboot the computer again.
So, these are some of the ways in which you can install and run Android on your Windows computer. Try them out and get Android up and running on your PC.


 Subscribe Now & Never Miss The Latest Tech Updates!