In this data-driven world, almost everything is stored in a digital format. The mere thought of losing your precious data sounds like nothing but a nightmare. You never know when anything goes wrong with a machine, and you have to recover all your lost data. But you know what’s worse? Being unable to reinstall the operating system when your system falls apart.

Ever heard of a recovery disk? A recovery drive can help you reinstall Windows in case of a hardware failure or if anything goes wrong with your machine. You won’t be able to restore your data while using a recovery disk but yes, you can easily install Windows on your device and start afresh.
Here’s a complete guide on what is a recovery drive, why do you need a Windows 10 recovery disk, how to set up a recovery drive in Windows 10 and everything else that you need to know on this subject.
Let’s get started.
Also Read: How to Create a Bootable USB to install Windows 10.
What is a Recovery Disk?
A recovery disk stores a copy of default settings, system files in any media format like a USB drive, disk drive, or a DVD. With the help of a recovery disk, you can easily reinstall the operating system on your device along with all pre-defined settings. Even if you’re having trouble while upgrading Windows, you can use a recovery drive to reinstall the latest Windows version on your machine.

Another significant benefit, why most users prefer to use a recovery drive for installing Windows is because it doesn’t require a product key for reinstalling the OS. So, consider a Windows 10 recovery disk as your life savior! Let’s quickly learn about how to set up a recovery disk in Windows 10.
How to Create a Windows 10 Recovery Disk
To create a Windows 10 recovery disk, you will need a media source like a USB flash drive with ample storage space. (8 GB or more) Once you’ve arranged the storage device, follow these steps to get started.
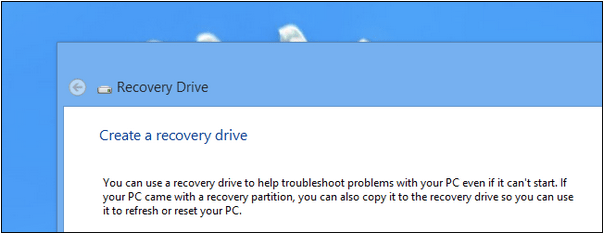
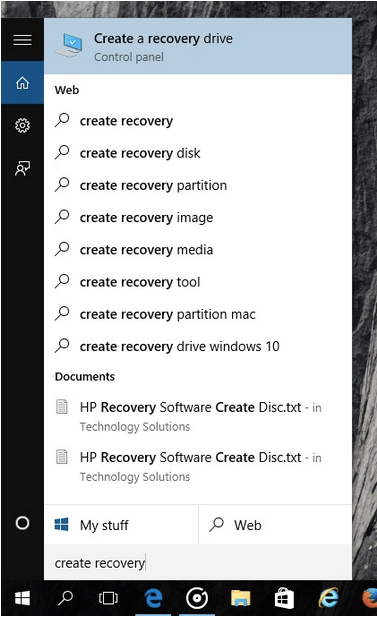
Launch the Start menu search and type “Create Recovery Drive” in the textbox. Hit Enter. You can also find this option in the Control Panel, as an alternative.

Plug the USB drive on to your system. Select the “Create a Recovery Drive” option.
In the Recovery Drive wizard window, make sure you check on the “Back up system files to the recovery drive” option. Tap on Next to proceed.

Windows will list the name of the connected media drive. Check it thoroughly and then tap on the Next button.

Before creating a Windows 10 recovery disk, your system will prompt you with a warning message stating that all your files and stuff will be lost once you proceed. Make sure that all your essential data is backed up beforehand.

If yes, then hit the “Create” button.
Wait for a few minutes until your system copies all the settings, system files, and data to the media storage.

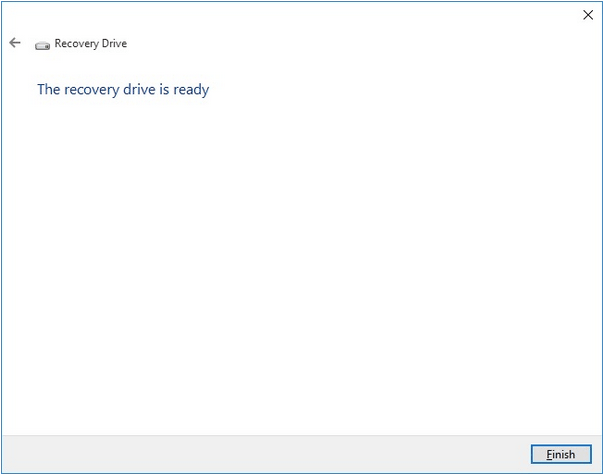
Once the Windows 10 recovery disk is successfully created, your system will alert you. Tap on Finish when done.

How to Boot from a Windows 10 Recovery Disk?
So, you’ve got the recovery disk ready? What next? The next step is to boot the operating system using Windows 10 recovery disk. Here’s what you need to do:
Connect the USB drive, the recovery disk media which you used for creating a recovery drive.
Restart your device; you will see a Windows logo and loading icon on the screen.

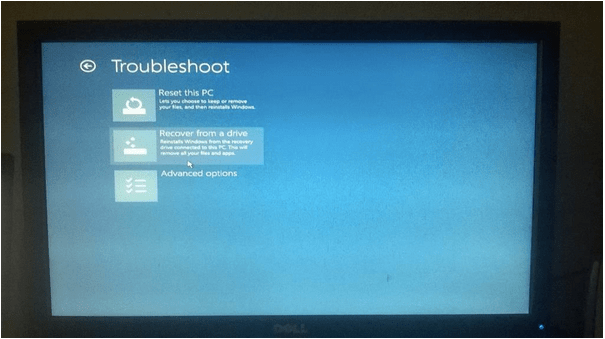
Pick a preferred keyboard layout and then proceed ahead. Tap on the “Troubleshoot” option.

Select “Recover from a Drive” from the list of options.

Follow the on-screen instructions and reinstall Windows on your machine.
Also read: How to create a Windows USB Bootable Drive.
Conclusion
This wraps up our guide on how to create a Windows 10 recovery disk. It’s a great idea to keep a recovery drive ready, in case of any emergency. Once you have the Windows 10 recovery disk ready, you can easily re-install the operating system without any hassle. You can also use the above set of steps if you’re facing any issues or errors while upgrading the OS. But yes, make sure you’ve backed up all your data before booting the operating system via a Windows 10 recovery disk.


 Subscribe Now & Never Miss The Latest Tech Updates!