Whether you’re a high school kid or a professional employee, good grammar is important to make an impression. Even if you have an abundance of knowledge but if your grammar is incorrect, people will not be able to interpret your message or thoughts in the right manner. Having sound grammar skills allows you to express your thoughts in an accurate and readable manner.
Grammar skills are required in almost every field if you’re sending a work email to a client or creating a job resume be it anything. Sometimes, it’s not okay to make silly mistakes as it leaves a bad impression on the reader. Wondering how to keep your grammar on point? We’ve got you covered.
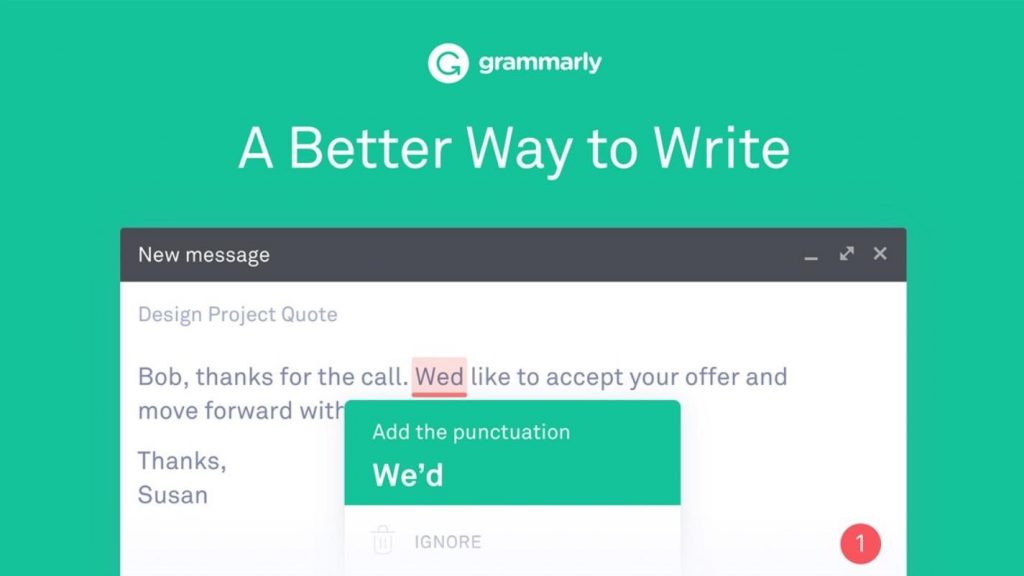
Most of you must’ve heard of Grammarly, right? It’s a widely popular online Grammar checking tool that scans your writing piece to eliminate errors. There’s also a Grammarly Google Chrome extension that you can add to your browser. Downloading this extension will enhance your communication and writing skills wherever you type. But did you know you could add Grammarly to Microsoft Word and Outlook as well while you work offline?
Yes, you heard that right. Here’s a quick guide on how to add Grammarly to Word and Outlook to make sure that your documents and emails are 100% accurate and grammar-proofed.
Let’s get started.
How To Add Grammarly To Word And Outlook
To make sure that your Word documents and Outlook emails are error-free, subtle and on-point, follow these instructions.
Launch Grammarly on your PC or laptop.
Login to your Grammarly account. In case, you’re a using Grammarly for the very first time, create a new account by following the on-screen instructions.
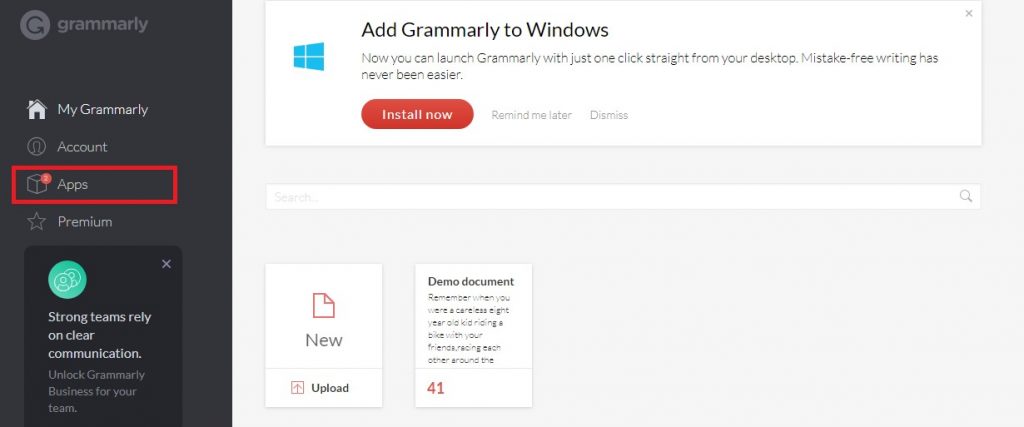
Once you’re logged in, tap on “Apps” option on the left menu bar of Home screen.
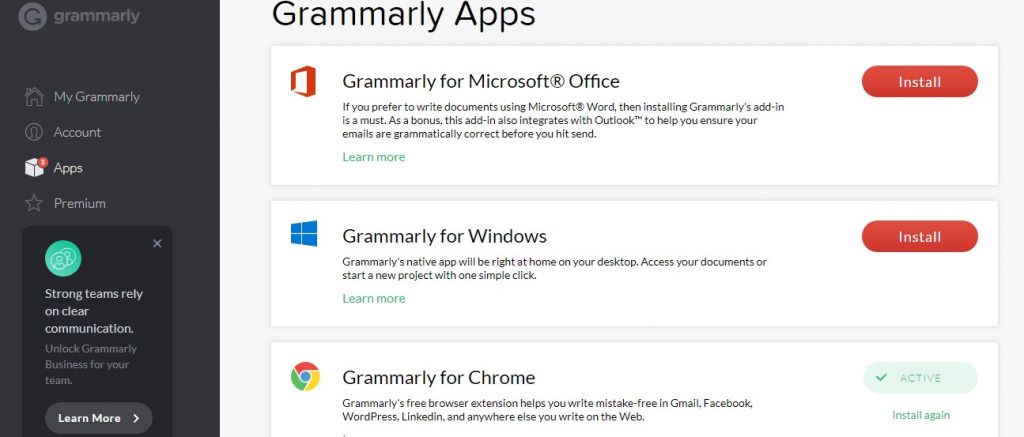
Now, on the next window tap on “Install” button next to “Grammarly for Microsoft Office”. This will ensure that your Word docs and emails are grammatically correct before you hit the send button.
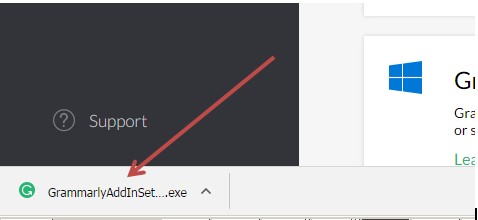
Once you will hit the “Install” button, downloading will begin within a few seconds. You will see the add-in at the bottom of your Window.
You will receive a security confirmation message in the form of pop-up alert asking you whether you would like to install this extension to your system or not. Tap on “Run” to proceed.
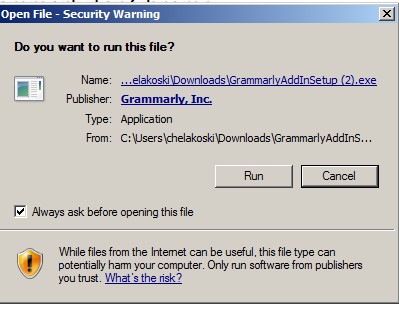
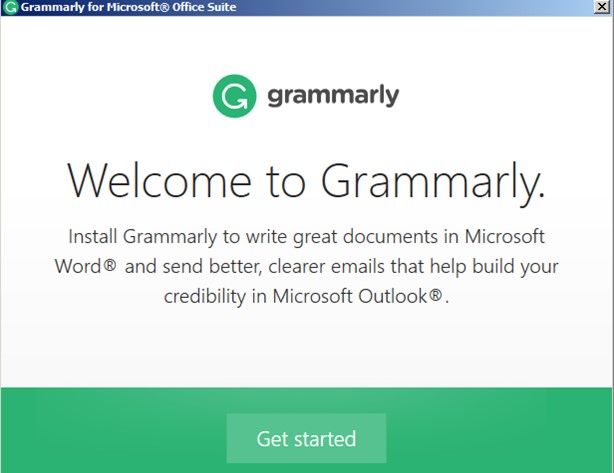
The Installation process will be initiated soon. Tap on the “Get Started” button on the bottom of the pop-up window.
Check on both the options on the list, “Grammarly for Word” and “Grammarly for Outlook” and then hit the “Install” button.

Wait for a while until the installation process gets completed. In the meanwhile, you can minimize the window and continue with your other work. Keep checking the loading status in the status bar so that you’ll know when the Grammarly installation is successfully completed. Tap on “Finish” once it’s done!
P.S. Make sure that all MS Word and Outlook windows are closed during the installation process.
Open MS Word or Outlook afresh on your system. You will now notice a green colored “Grammarly” icon on the top-right corner of the window. Hit on “Enable Grammarly”. And that’s all fellas!
From this point forward, all your Word documents and Outlook emails will be 100% credible and error free.
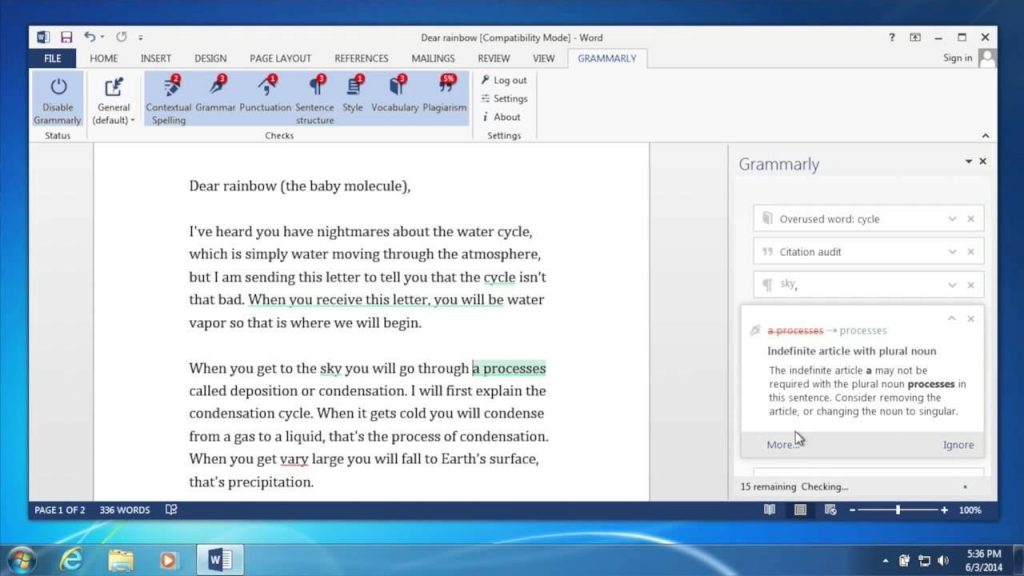
Using Grammarly on MS Word is super simple. When you’re done writing, tap on “Open Grammarly” option to begin proof-reading of your document. Grammarly will not get to work and will highlight all the errors with a red-colored line. You can fix all the errors with Grammarly suggestions to make sure that your file is written in an accurate language, with absolutely no grammatical errors.
In case, there are any troubles in the installation process, you can check the Grammarly system requirements via this link.
The Final Word On How To Add Grammarly To Word And Outlook
Did you find this article helpful? On this note, it puts an end to our quick guide on how to add Grammarly to Word and Outlook. For any other doubts or queries feel free to hit the comment box. We’d be more than happy to help you! Follow us on social media – Facebook, Instagram and YouTube.


 Subscribe Now & Never Miss The Latest Tech Updates!