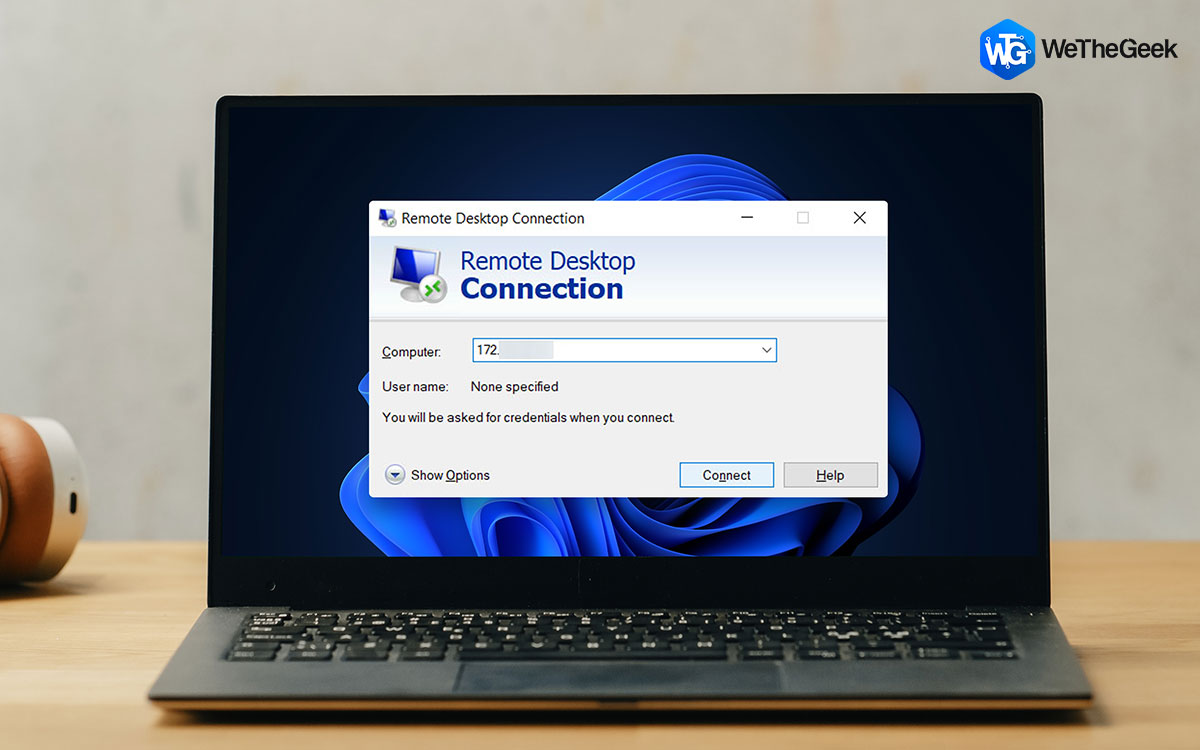
A Remote Desktop is a powerful technology that allows users to access and control another computer remotely over a network connection. Particularly in a professional world, it is a crucial tool for remotely monitoring and fixing computers.
Here, we’ll go through 6 different ways to enable Remote Desktop connection on Windows 11 Pro. These techniques make it simple for users to view, manage and access computer files, without being physically present in front of the desktop.
Point to Remember: A Remote Desktop tool (the PC you are connected to) must be running on Windows 11 Pro edition while the client computer, or the device which you are connecting, can be running any edition of Windows (including Home or Pro)
To check your system’s Windows version, open Settings > tap on System > click on About > Windows Specifications.

Read Also: How To Fix Chrome Remote Desktop Not Working on Windows 11
How To Establish Remote Desktop Connection On Windows PC?
Try the following ways to conveniently enable connection via Remote Desktop.
Method 1 = Enable Remote Desktop Connection on Windows With Settings
To make your PC to act as a host computer, Windows 11 must have Remote Desktop enabled. Notably, the Enterprise and Pro editions of Microsoft’s latest desktop platform are the only ones that allow you to activate that capability. Follow the instructions below:
STEP 1 = Open Settings > scroll down and tap on Remote Desktop> click on the toggle switch against Remote Desktop to enable it.

STEP 2 = Make sure you box next to Require devices to use Network Level Authentication to connect (Recommended) is checked.

Hit the Confirm button. Once you complete these steps, you are all set to connect your PC with a Remote Desktop application.
Read Also: 5 Best Remote Desktop Extensions For Google Chrome
Method 2: Enable Windows Remote Desktop Connection via Windows Search Tool
- Tap on the Search icon from the Taskbar.
- Type ‘remote desktop connection’ in the search bar.
- Now you can open it by clicking on the ‘Open’ or ‘Run as Administrator option.

Read Also: How To Remove Icons From Desktop
Method 3: Activate Remote Desktop Connection via the Desktop shortcut
- On your desktop screen right-click anywhere and click on New > Shortcut.

- Type this command in the Create shortcut window and click on Next:

%windir%\system32\mstsc.exe
- Now type Remote Desktop Connection when asked for the shortcut’s name and click on Finish

You can now open Remote Desktop Connection by clicking the new desktop shortcut.
Method 4: Activate Remote Desktop Connection with File Explorer
- Type on the File explorer (Folder icon) option from the Taskbar.
- Open this in the File explorer window: C:\ProgramData\Microsoft\Windows\Start Menu\Programs\Accessories.
- Within this folder, select Remote Desktop Connection.
Read Also: How To Fix Slow File Explorer In Windows 11
Method 5: Enable Windows Remote Desktop Connection by Using the Keyboard shortcut
A desktop shortcut for RDC can have a hotkey. You will then have a keyboard shortcut available to launch Remote Desktop Connection. You must accomplish this by creating a desktop shortcut for the Remote Desktop Connection as instructed in Method 2. Follow the instructions below:
- Right-click on the desktop shortcut for Remote Desktop Connection and then choose

- Tap in the blank area in front of the Shortcut key

- Assign a key to it like Ctrl + Alt + D and then hit the Apply option to save it.
- Now, whenever you need a Remote Desktop Connection, simply hit Ctrl + Alt + D.
Method 6: Use Command Prompt to Open and Enable a Remote Desktop Connection
The PowerShell and Command Prompt command-line tools let you open a Remote Desktop Connection. Here we will see how to open it via the Command prompt.
- Press the Windows key with the key R to open the RUN dialog
- Type cmd and press the Enter key.

- Now enter the following command and press Enter: mstsc

Read Also: How To Fix Command Prompt Not Working on Windows 11/10
To Wrap This Up
So, these were the 6 ways to activate Remote Desktop Connection on Windows 11 pro. You can successfully activate the Remote Desktop connection and access your Windows 11 Pro device remotely from another place by following the instructions provided in this article.
And for more such troubleshooting guides and tips & tricks related to Windows, Android, iOS, and macOS, follow us on Facebook, Instagram, and YouTube
Next Read: How To Fix Remote Desktop Can’t Find the Computer on Windows 10


 Subscribe Now & Never Miss The Latest Tech Updates!