The global pandemic has entirely changed the way we live, we certainly cannot attend every event physically. Observing the scenario, a growing number of cultural organizations, businesses & influential Instagrammers & YouTubers are turning towards Live Streaming Platforms since they provide an excellent way of broadcasting multiple kinds of content in real-time.
One of the most popular options of all time is YouTube Live, it’s cost-effective, maximizes your overall reach, supports mobile live webcasting, and offers a great way to create a connection with the viewers, leading you to have a better-established brand.
However, YouTube Live record are stored for just a brief period of time, which means if you haven’t watched the content in real-time it will be gone in the blink of an eye. That’s exactly where you need to learn How To Record YouTube Live Stream?
Easily Capture Live Streaming Video On YouTube
Don’t let the Internet run your schedule. Simply record YouTube Live Streaming Videos and save them for later viewing or share them with your friends/colleagues.
METHOD 1- Use The Best Live Screen Recorder For YouTube
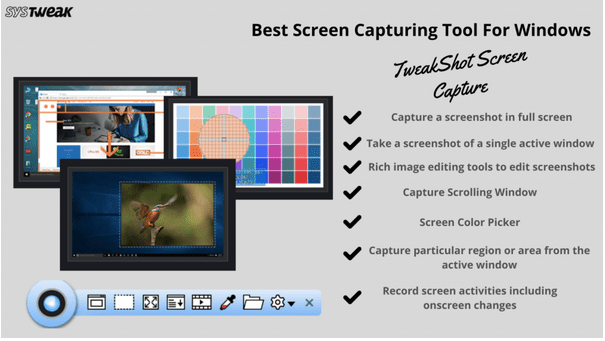
The very first thing you can do is find a good screen capture tool that will help you record your desktop screen in no time. We are using TweakShot, which is an easy-to-use tool for recording live streams, webinars, game-plays, online lectures, and everything on your desktop with on-screen movements.
SYSTEM REQUIREMENTS: TweakShot Screen Capture Tool
| Compatibility: | Windows 10, 8.1, 8, 7 PC |
| Memory: | 4 GB RAM & More |
| Hard Disk Space: | Minimum 2 GB of Free Space & SSD for ultimate performance |
| Display: | 1280×768 or better |
| Processor: | Intel Core i3 or Higher |
Why Use TweakShot Live Screen Recorder?
Here are some prominent features of TweakShot which makes it one of the best tools for recording live streams on YouTube and capture high-quality screenshots.
- Multiple capturing modes: Full Screen, Scrolling Window, Specific Region & Single Window.
- Support Video capturing with (on-screen mouse movements & audio).
- Automatically saves the captured screen.
- Built-in Photo Editor to refine screenshots for better output.
- Add annotations to the captured screen (beneficial for making tutorials).
- Use hotkeys to record or capture screens without hassles.
- Share screenshots & recorded videos via Google Drive, Dropbox & OneDrive.
- Lightweight live screen capture tool.
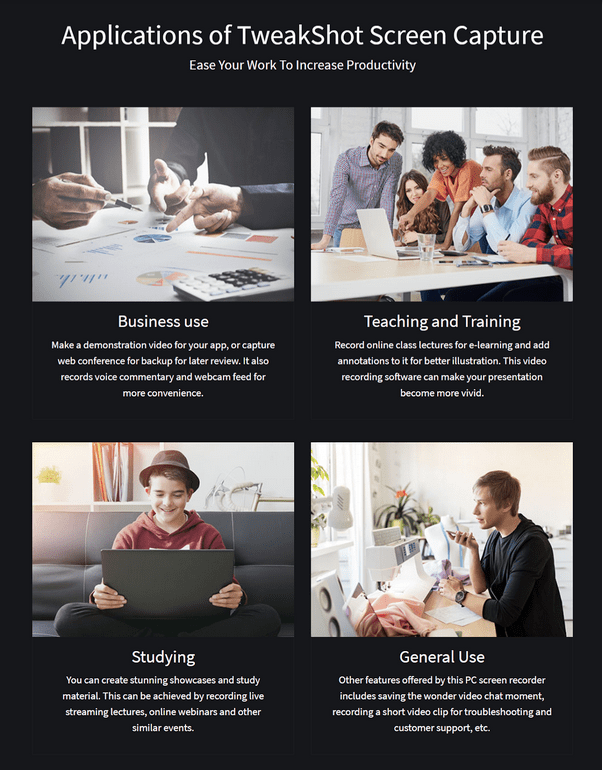
How To Use TweakShot, Screen Recorder For Live Streams On YouTube?
Well, using TweakShot is a straightforward process. It offers a flexible console that makes capturing multiple kinds of screenshots, seminars, Skype calls, presentations, webinars, game-plays & more a hassle-free process.
To start YouTube Live recording and save it directly on your PC in popular file formats, all you have to do is:
STEP 1- Download & install TweakShot screen capturing software on your system. Click on the button below to get the tool.
STEP 2- Once it is successfully installed, run the setup file and launch the tool from the saved location.
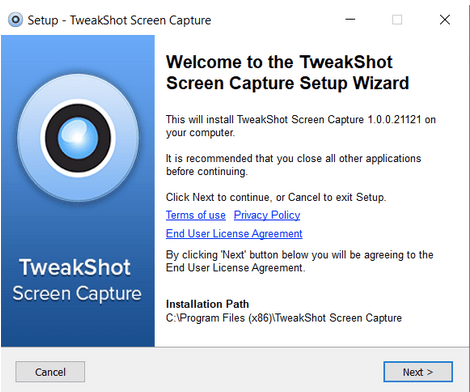
STEP 3- Double-click on the Big Eye icon so that you can have access to all the features and tools that TweakShot, a screen recorder for the live stream has to offer.
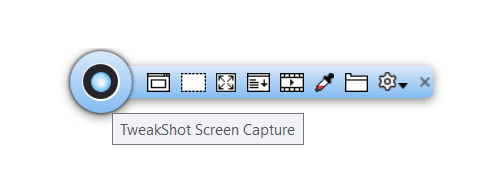
STEP 4- For recording YouTube Live Streams, you need to choose the Capture Video option.

STEP 5- Switch to the Live Stream you wish to record on YouTube and click on the option, highlighted in the screenshot above.
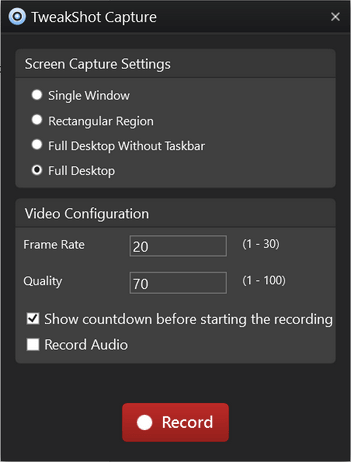
STEP 6- You can choose the desired capturing settings according to your preference from Single Window, Rectangular Region, or Full Desktop.
STEP 7- If you wish to record the YouTube Live Stream video with audio, make sure you check the Record Audio button and keep your microphone connected while your system is recording.
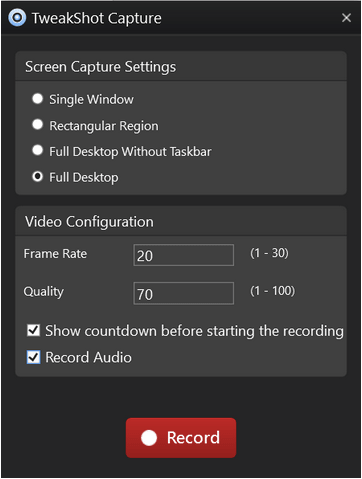
STEP 8 – You can Stop or Resume recording anytime with the TweakShot screen capture tool.
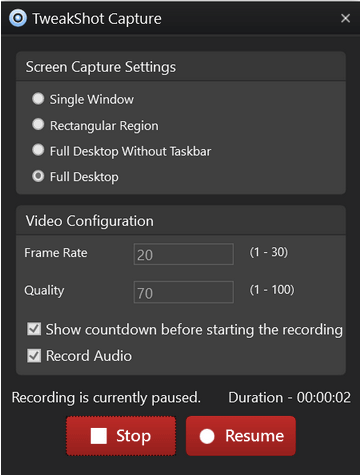
STEP 9- Once you are done recording, click on the Stop button to automatically save your captured video.
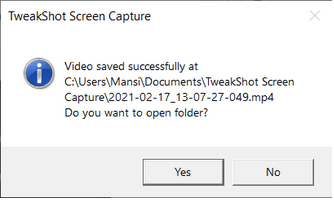
Click on the Yes button to see your recorded Live Stream on YouTube!
Short On Time? Watch The Video Tutorial To Learn All About TweakShot Screen Capture Tool
Running short on time? Well, watch this video and get to know about MacPaw’s CleanMyPC reviews and main highlights.
Must-Read: How To Record Screen With VLC Media Player?
METHOD 2- Try Online Live Screen Recorder
Well, if you don’t want to install any extra software on your system, you can try using a web-based YouTube live record video capture tool. We have already covered a list of Best Online Screen Recorders; you can check out some of the most popular options in the same. In this article, we are using Screencastify, since it is an easy-to-use utility and helps to record both screen and audio. Additionally, the tool also helps in publishing videos to YouTube directly.
STEP 1- Install the extension for recording live streams on YouTube.

STEP 2- First-time users, have to follow certain steps to get started:
- Log in with your Google account.
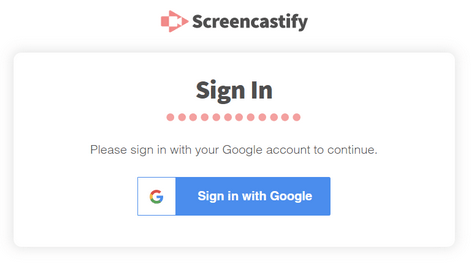
- Accept the necessary permissions required by the tool to work properly.
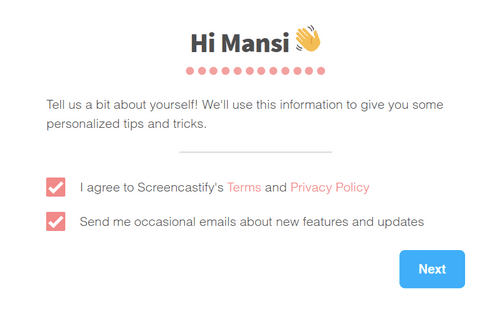
- Complete the two-question survey to introduce yourself to the live screen recorder for YouTube.
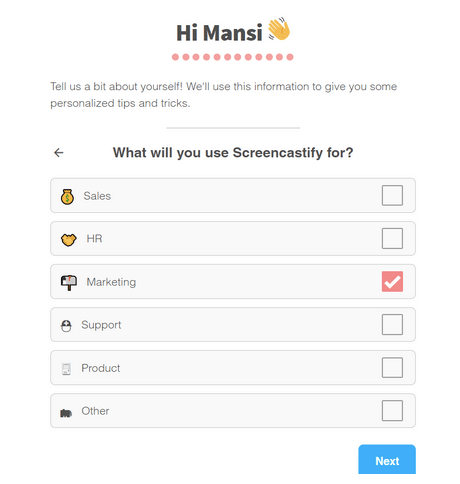
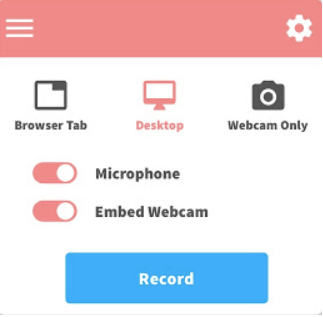
STEP 3- Now that you have successfully set up the extension, you are all set to record YouTube Live Stream. Switch to the YouTube Live Stream you wish to record & choose what you want to record: Your Browser Tab, entire Desktop, or Webcam Only.
Note: If you want to record your voice as well, make sure you toggle next to your Microphone. Check on the Embed Webcam option, if you want to record your face as well.
STEP 4- Click the blue ‘Record’ button to start capturing streaming video. You’ll see a countdown before your recording will begin.
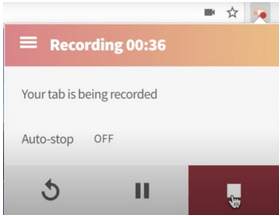
STEP 5- Once done, click on the extension to stop the recording. Hit the Red stop icon to complete the capturing process.
You can save your recording to the desired location and share it with your friends/family or use it for later review.
Final Words
Both the ways were super easy and effective when it comes to recording live streams on YouTube. Whatever option you choose is over to your needs and preferences. If you ask us, we recommend using TweakShot, since it offers multiple modes for capturing screenshots and videos. Moreover, it also allows us to add annotations for creating educational tutorials and more.
So, what are you waiting for? Install TweakShot right away and start capturing YouTube Live Streams in no time. Do not forget to share your experience with the video capture software in the comments section below!
Frequently Asked Questions
Q1. How Do I Record My Screen For YouTube Live?
You can rely on best video capture software & online screen recorders to record YouTube Live Streams videos and music.
Q2. Does YouTube Allow Screen Recording?
No, YouTube doesn’t offer a dedicated feature to record screens. But Chrome extensions like Screencast-O-Matic and more have integration with YouTube that lets you capture screens on YouTube and upload videos directly on the platform. It is certainly one of the Best YouTube Screen Recorders available in the market.
Q3. Which Screen Recorder Is Used By YouTubers?
Apart from TweakShot & Screencastify, here’s a concrete list of options used by YouTubers to record live streams:
- OBS Studio
- AZ Screen Recorder
- XSplit
- Wondershare Filmora
- TechSmith Camtasia
Q4. Is It Possible To Record YouTube Live?
Yes, with the right tools, like Tweakshot you can easily capture Live Streams on YouTube and other social media platforms.
Relevant Articles:
- How To Record Screen On Mac With Sound?
- How To Record Zoom Meeting On Windows, Mac, Android & iPhone For Free?
- How To Screen Record Snapchat Without Them Knowing?
- How To Record WhatsApp Video Call With Audio On iPhone & Android?
- How Can I Record FaceTime Group Call On iPhone?
- Best Screen Recorder Apps For Android With Audio


 Subscribe Now & Never Miss The Latest Tech Updates!