Do you think RAM is used only when playing a video game or watching a high-resolution video on your Windows PC? Think again! It is present in almost every software and helps the CPU perform specific tasks more efficiently. Unfortunately, high RAM usage in Windows PCs is quite common these days. Most users complain about their computers becoming sluggish after installing new programs or updating their OS.
Fortunately, there are many ways to fix high memory usage in Windows PCs exist. Some of them might be complicated and require you to understand some advanced concepts, but anyone can do it with the right attitude and determination.
Read Also: How To Fix Can’t Create a New Folder on Windows 11
Causes of High RAM Usage in Windows 11
Numerous factors could contribute to high memory usage, however, Virtual memory and RAM are always involved. Apps that lag or freeze frequently are likely using too much memory. If your computer is experiencing memory usage while idle and no apps are open, this is a problem for which there are numerous causes. We must comprehend the causes of the problem before moving on to solutions.
- Inadequate memory.
- Incorrect Registry.
- Many programs begin at Startup.
- Malware or virus infection on the computer.
Now, let’s look at how to resolve the High Memory Usage problem.
Read Also: Microsoft’s PC Manager – Will It Help Boost PC Performance?
How To Fix High RAM Usage on Windows 11
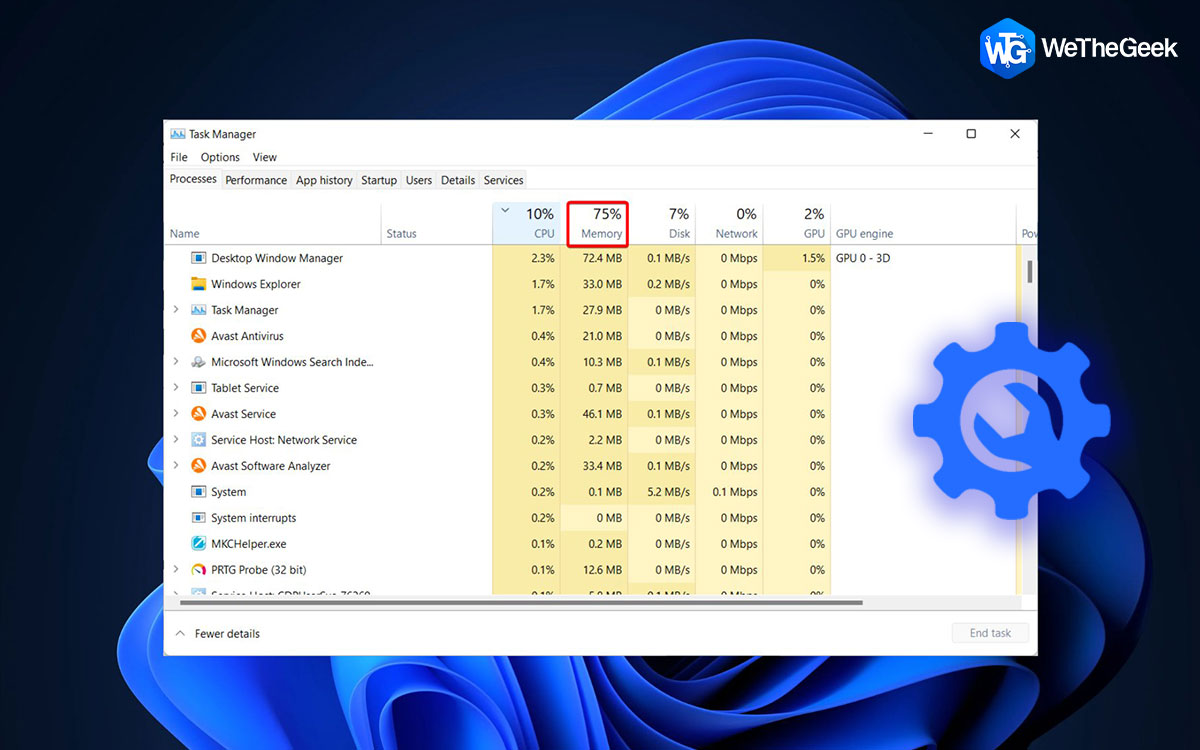
When you open the Task Manager you can see unusually high memory consumption. As a result of this high memory usage, the applications may take longer to respond and you can also experience frozen screens as well. The best ways to reduce Windows memory utilization are listed below.
1. Disable SysMain Service
Applications you commonly use are preloaded into the RAM by the SysMain function for rapid access. To start, try turning off the functionality and see if that resolves the problem.
- Press the “Windows” key with the key “R” to open the “RUN” dialogue box.
- Type services.msc and hit the “Enter” key.

- The services window will open in front of you, look for and right-click on the “SysMain” option.
- Now choose “properties” from the Drop-down menu.
- In the SysMain tab, tap on the drop-down arrow icon right in front of
Startup type” and choose “Disabled” from the list of options.
- Under the “Service Status,” option choose “Stop” and then press the “OK” button to save the changes.


After you have stopped the service, Check to see if the excessive memory use problem has been resolved and if the apps are no longer lagging or freezing.
Read Also: How To Check Which Apps Are Using Your Camera And Microphone
2. Stop Apps/Programs While Startup
As soon as you start your computer several programs begin to operate and consume a lot of memory. These programs/apps can cause problems with high memory utilization. To fix this follow the steps below:
- Press the “Windows” key with the key “I” to open “Settings.”
- From the right side of the page tap on “Apps.”
- Now on the “Apps” tab, you will find an option labeled “Startup” click on it.
- Then you will find all the apps that automatically start whenever you log in to your PC.
- Go through the list carefully and shut them down according to their overall impact and your preference.


3. Delete RAM Cache
Windows uses a portion of your system memory as a cache when an app is running so that it can rapidly access the same data later. You might want to try clearing the RAM cache if you see an unusually high RAM consumption when no programs are running to immediately free up some memory. To do so follow the steps below:
- First, open the Task Manager by pressing the “Ctrl+Shift+Esc” key together. And click on the “Performance” tab then click on “Memory” to see how much RAM is currently being used as “Cached.”
- Download “EmptyStandbyList.exe” from this address:
- Save the .exe file on your desktop or wherever else you’d like after downloading it.
- Right-click the executable file and choose “Run as administrator” to launch it.
- A command line window will briefly appear after you run the file. It indicates that the utility has been used and that the RAM cache has been cleaned.


Read Also: 6 Ways to Empty the Recycle Bin in Windows 11
4. Use Virtual Memory
You can expand the virtual memory if your system has insufficient physical memory. Windows 11 uses hard disk sectors as RAM, whenever your computer is low on memory. This will substantially assist you in battling Windows 11’s high memory use. To do so follow the steps:
Note: You can increase the size of your virtual memory to 3 times your actual physical memory. As a result, you can configure roughly 24GB of virtual memory on a PC having 8GB of RAM.
- Press the “Windows” key and type “advanced system” in the search bar and open “View advanced system settings.”
- Select “Settings” from the “Performance” section of the “System Properties” box.
- Now in the “Performance Options” window click on the “Advanced” tab.
- Then click on the “Change” option under the “Virtual Memory” section.
- Now uncheck the box for “Automatically manage paging file for all drives” and tap on the “Custom” size option.
- Now in the field of the “Initial size” option write the recommended value mentioned below. In my case, it is “1635 MB” and now for the “Maximum size” option, you can set the value down the value 3 times to your actual RAM. For instance, you can set it to 24 GB (24576 MB) in case you have 8 GB RAM. I am going to set it to 20 GB (20024 MB).
- Now click on “Set” and then press “OK.”
- Finally, restart the computer to resolve the Windows 11 insufficient RAM issue.


Read Also: How To Fix Wi-Fi Keeps Disconnecting On Windows 11
5. Add More RAM to Your PC
If none of the aforementioned methods have been able to stop the high memory utilization problem. You have no choice but to expand the physical RAM. You must first be aware of how much RAM your PC currently has. Additionally, each computer has a maximum amount of RAM; you may check this on the website of the PC’s manufacturer or in the documentation that arrived with the computer.
- Open the “Task Manager” as previously stated, then select the “Performance” tab.
- Now click on the “Memory” option and here you will all the details about the installed RAM on your computer. Like its size, speed, empty slots, form factor, or more.
- You can easily select an appropriate RAM for your PC according to the above-mentioned factors.

We advise you to seek professional guidance when you decided to upgrade the RAM because every system is unique and generalizing the solution would make the problem worse rather than better.
Read Also: How To Fix Slow File Explorer In Windows 11
To Wrap This Up
So, this is how you can fix high RAM usage in Windows 11. If you experience high RAM utilization, the cause may be background apps using unusually high RAM levels or a memory leak. Give these methods a try and let us know which one worked for you. Also if you know some other methods to fix the issue then let us know in the comments below. Also if you have any questions or suggestions don’t hesitate to mention them. We’ll try to answer them all.

 Subscribe Now & Never Miss The Latest Tech Updates!