
Microsoft announced new versions of the Photos app with Windows 11 and this has given rise to a new interest among Windows users. With an inbuilt Photos App laden with features, Windows users can get rid of third-party apps to view their photos. However, after the launch of Windows 11, many users have started to complain about an anomaly in the Windows 11 Photos App.
The all-new Photos app seems to have a mind of its own and it adjusts brightness settings without your permission or instruction. Even though this is not a system-threatening issue, many people are irritated by it and would like to find a solution to stop it. And today we have a small set of steps that will fix this issue. More specifically, here we will be turning off the auto-enhance feature using Powershell.
Apart from helping you stop Photos app from adjusting picture brightness, we will also tell you how you can improve picture quality and remove noise as well.
How To Stop The Photos App From Adjusting Picture Brightness
Lets us check the steps to stop automatic picture adjustment with a few steps:
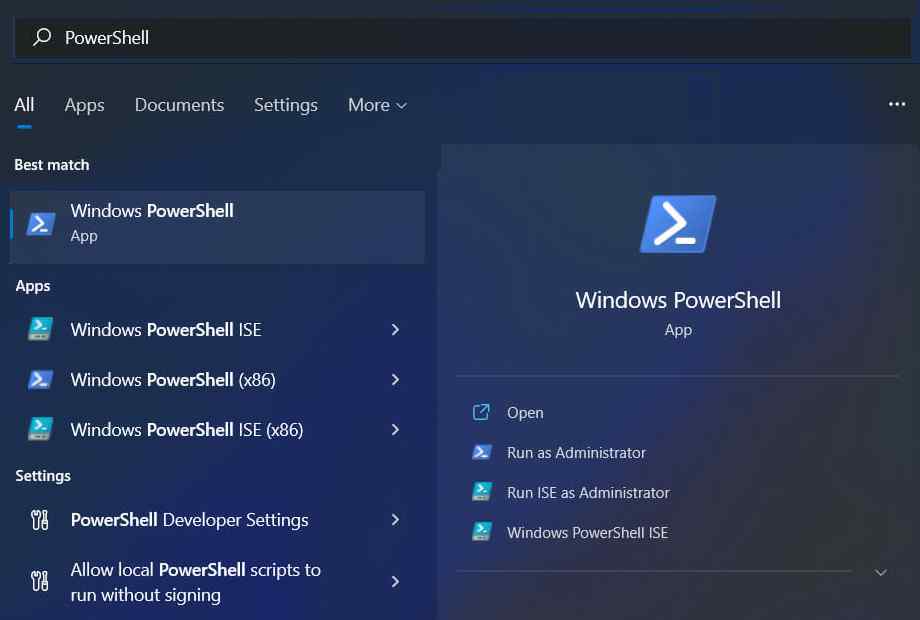
Step 1: On your taskbar, click the Search button.
Step2: To open the app, type PowerShell and press Enter.
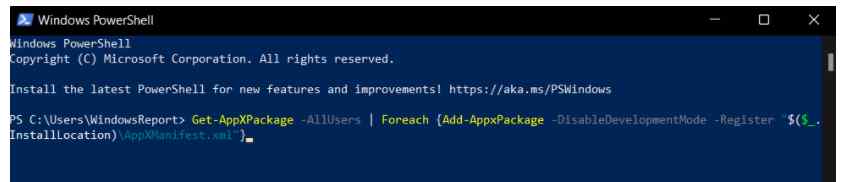
Step 3: Press Enter after entering the following command.
Get-AppXPackage -AllUsers | Foreach {Add-AppxPackage -DisableDevelopmentMode -Register “$($_.InstallLocation)\AppXManifest.xml”}
Step4: Reboot Your Computer.
How To Improve Photo Quality And Denoise Them?
Step 1: Download HDR Effect from the Microsoft Store and install it on your Windows PC.


Step2: Complete the installation process and provide it with the necessary permissions.
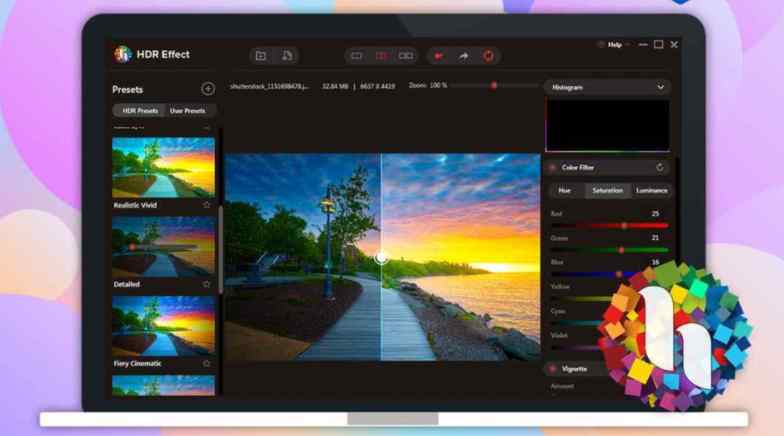
Step 3: On your PC, open the HDR Effect application.
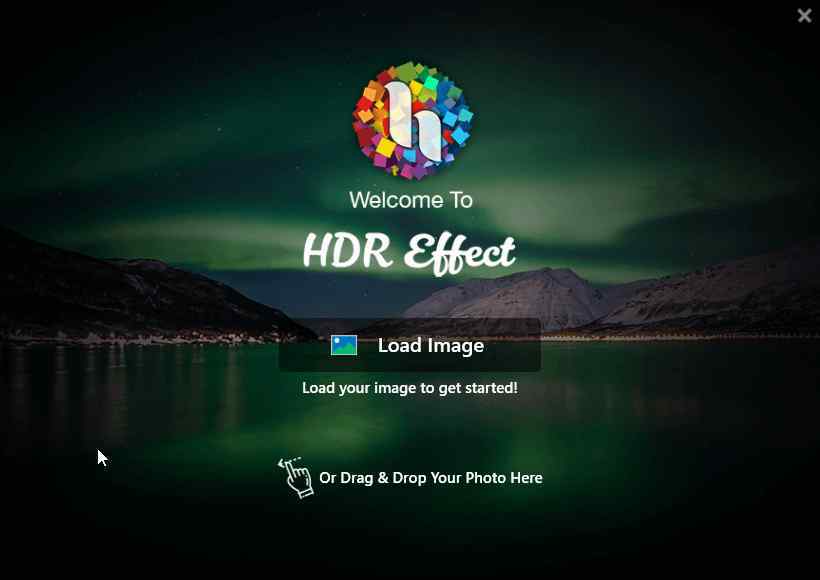
Step4: Open HDR Effect and drag and drop the image you want to change into it.
Step 5: To see the image, choose one of the three viewing modes.
Single-Mode: Only one image is displayed on the screen.
Split Mode: Enables you to see the image’s before and after effects using a slider.
Double Mode: Shows both the original and edited photos side by side.
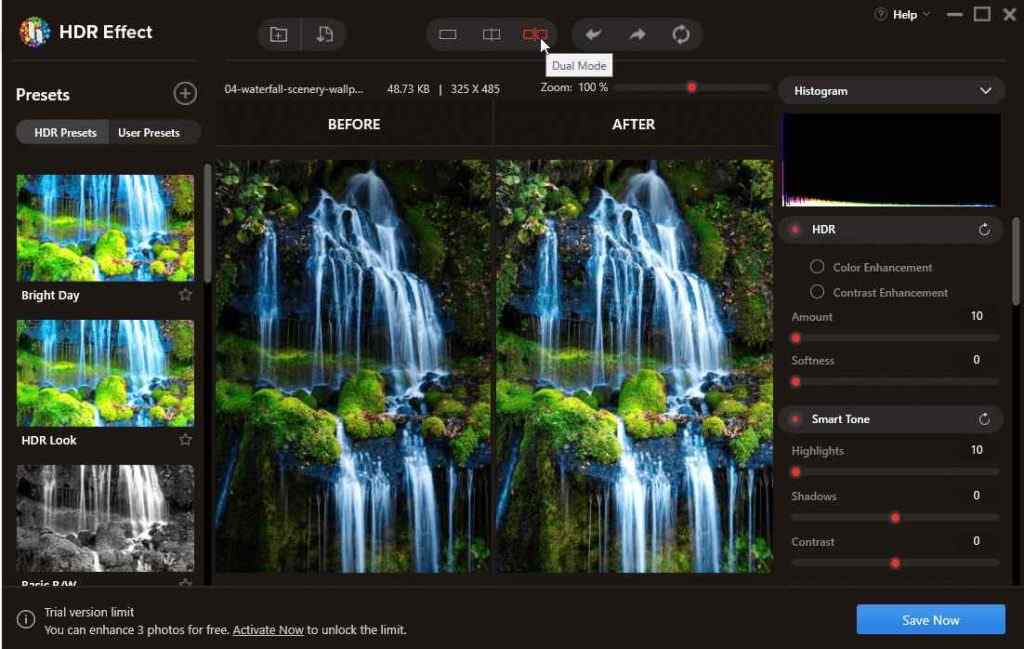
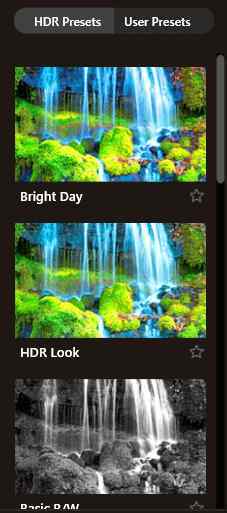
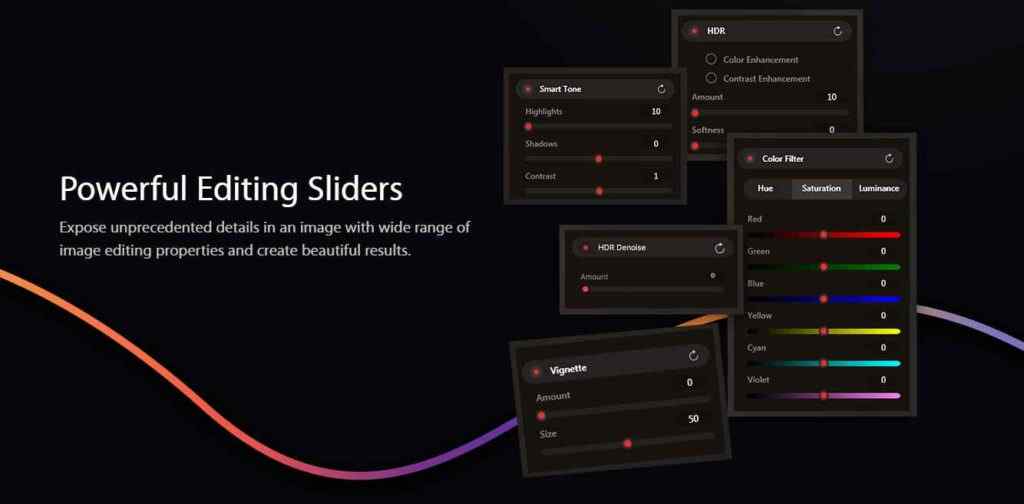
Step 6:To modify the image’s color, look to the tool’s left side. Now it’s time to add effects to the image. These HDR presets are ready-made effects that you may use to swiftly improve your photos.
Step 7: Another option is User Presets, which can be tweaked to your preference. To do so, use the tools on the right side of the application. Highlights, Saturation, Contrast, Brightness, and Shadows, among other things, can all be adjusted here. For future use, save it as a custom preset.
Step 8: After you’ve finished altering the image, click the Save Now button to save it.
HDR Effect: A Boon for Photographers and Photo Lovers
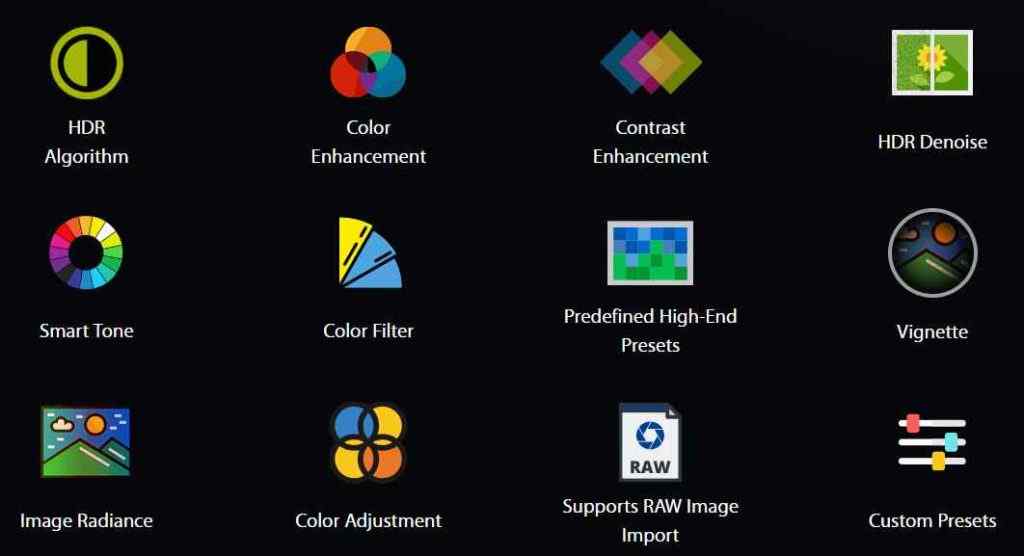
The HDR Effect is used by professional designers and photographers to edit, retouch, and create multi-layered compositions. It’s a good idea to let go of your inner artist and use these tools to edit your photos:
HDR (High Dynamic Range) Algorithm. Increases the luminance of a low-quality digital shot to create lovely, spectacular images.
Enhance the color scheme. You may increase and expand the color saturation range with the HDR Effect.
Contrast can be increased. Increase the HDR contrast in your photos to alter them and make them stand out.
HDR denoise You can rapidly eliminate low-light color noise with the powerful HDR denoise tool!
Intelligent Toning. Naturally, alter the tone value of your shot.
Color-coded filters are available. You can turn an average image or scene into something remarkable by applying a little color filter to it.
Presets with a high level of quality. You may acquire properly exposed images by using high-end settings.
Vignette. As the image reaches the edges, reduce the brightness or saturation.
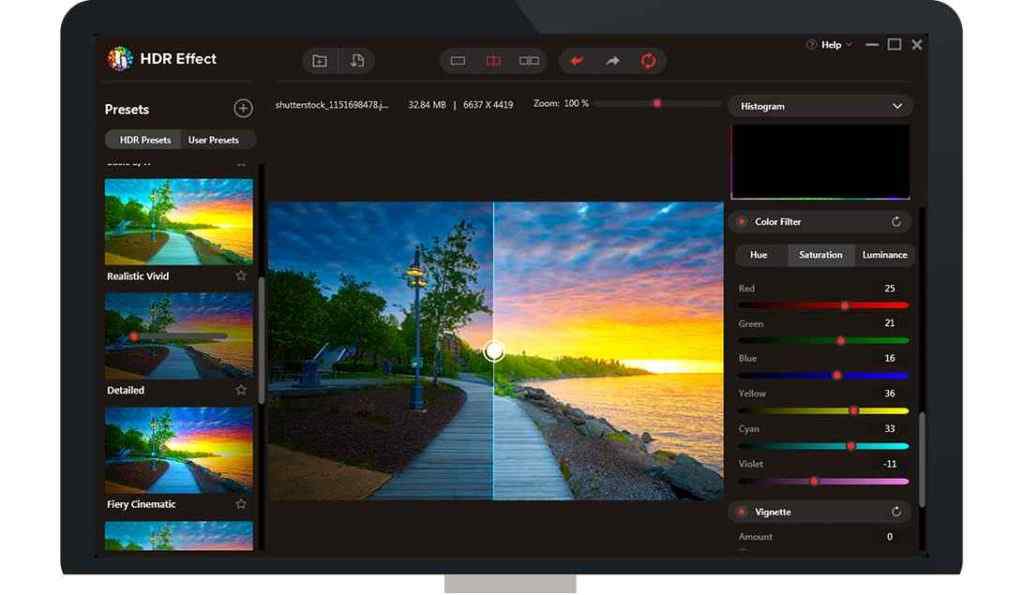
Image Radiance. Control the color balance, sharpness, exposure, and brightness of your photographs, among other things.
Color Alterations. Colors will appear brighter, and temperature, tint, and other settings can be easily tweaked.
RAW photos are imported. For outstanding HDR effects, import and edit PSD, JPEG, RAW, PNG, and other image files in seconds.
The Final Word On Stop The Photos App From Adjusting Picture Brightness On Windows 11
For many users, Windows 11’s Photos application is still substantially darkening photos, just like its predecessor. It will display the photo normally for approximately a quarter second before lowering the brightness level to a much darker and gloomy level. Many people have complained that the new and improved software insists on reorienting portrait mode photos to landscape orientation, which may be even more irritating than altering the brightness. The above method will help fix this anomaly and prevent Windows Photos App from automatically adjusting the brightness of the image.
Follow us on social media – Facebook, Instagram, and YouTube. For any queries or suggestions, please let us know in the comments section below. We would love to get back to you with a solution. We regularly post tips and tricks, along with answers to common issues related to technology.

 Subscribe Now & Never Miss The Latest Tech Updates!